
Ever finish your morning brew and wonder what to do with those leftover coffee grounds? Instead of tossing them in the trash, you could be giving your garden a natural boost that costs nothing and works wonders. Many beginners struggle with slow-growing plants, poor soil, or relying on pricey store-bought fertilizers that sometimes do more harm than good.
What if the solution was already in your kitchen? Coffee grounds as fertilizer can transform ordinary soil into nutrient-rich goodness that helps plants flourish. In this guide, I’ll walk you through everything—from the science behind it to simple steps you can try today. Whether you’re a total newbie with a few pots on the balcony or an experienced gardener with raised beds, you’ll find practical advice that actually works.
Quick Answer: Can You Use Coffee Grounds as Fertilizer?
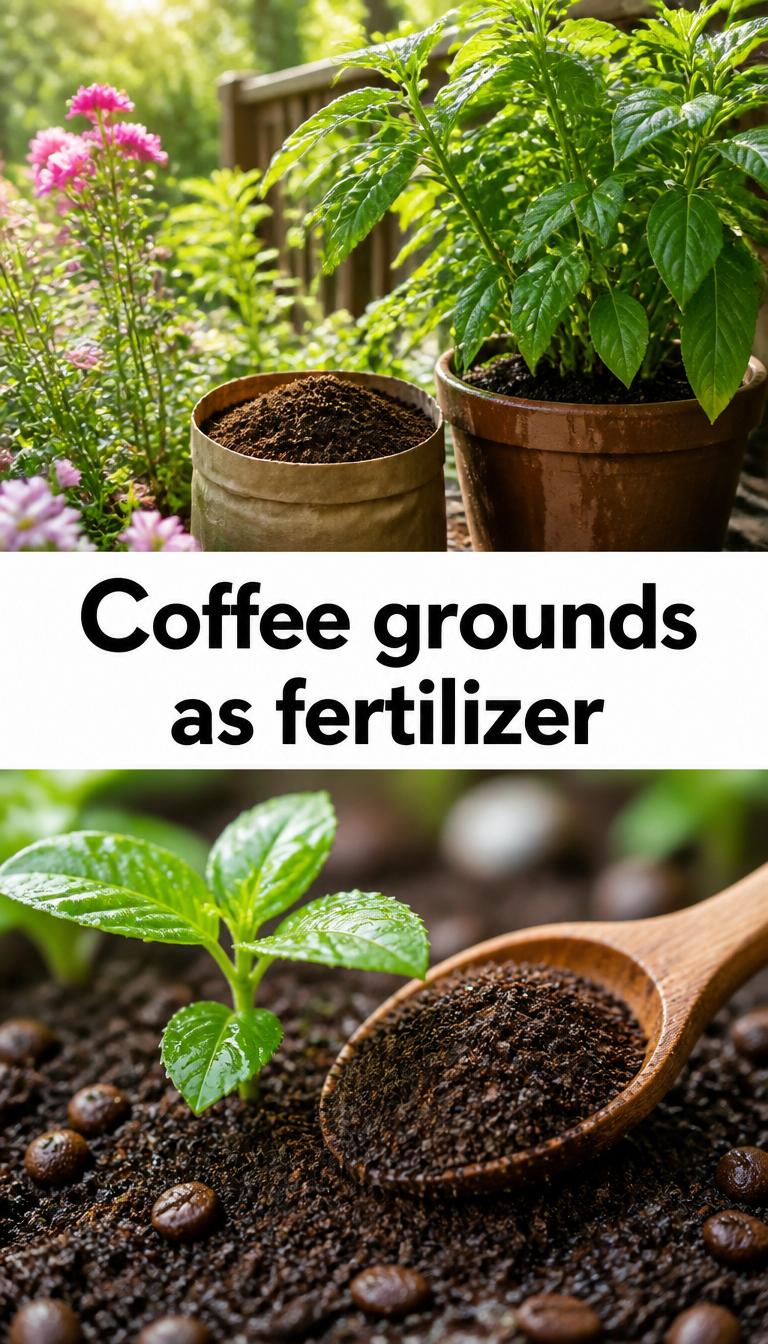
Yes, used coffee grounds make an excellent natural fertilizer and soil amendment. They provide nitrogen, improve soil structure, feed beneficial microbes, and even help deter some pests. The key is using used (brewed) grounds properly—usually composted first or applied in thin layers—to avoid common pitfalls like compaction or nutrient lockup. Results show up gradually as they break down, making them perfect for steady, long-term plant health.
Why Coffee Grounds Work So Well in the Garden
Coffee grounds aren’t just waste—they’re packed with goodness. Used grounds contain about 2% nitrogen, plus smaller amounts of phosphorus, potassium, and micronutrients like magnesium, calcium, iron, and copper. Nitrogen is the superstar here, promoting lush green growth and strong foliage.
As they decompose, grounds feed soil microbes that break down organic matter and make nutrients available to plant roots. This creates a living, breathing soil ecosystem that holds moisture better and drains excess water too.
I’ve seen it firsthand in my own backyard. A patch of tired soil that barely grew anything suddenly perked up after consistent use of composted grounds. The earthworms moved in like they were invited to a party, aerating the ground naturally.
Unlike synthetic fertilizers that can burn plants or wash away quickly, coffee grounds release nutrients slowly. It’s a gentle, sustained feed that aligns with how nature works.
The Benefits of Using Coffee Grounds as Fertilizer
The perks go way beyond basic nutrition. Here are the main advantages:
- Eco-friendly recycling: Keep grounds out of landfills and reduce your waste footprint.
- Improved soil structure: They add organic matter that helps sandy soil retain water and clay soil drain better.
- Attract earthworms: Worms love them and do the hard work of mixing and aerating for free.
- Mild pest deterrent: The texture and residual caffeine can discourage slugs and snails.
- Cost savings: Free fertilizer! Local coffee shops often give away big bags of used grounds.
- Boost for acid-loving plants: While used grounds are near neutral pH, they still support blueberries, azaleas, and roses nicely when balanced.
One of my favorite observations? Neighbors who started saving their grounds reported fewer fungal issues and healthier-looking leaves overall. It’s like giving your garden a daily vitamin without the chemicals.
Best Plants That Love Coffee Grounds as Fertilizer
Not every plant reacts the same, but many thrive with them.
Acid-loving favorites:
- Blueberries
- Azaleas and rhododendrons
- Hydrangeas (for bluer blooms)
- Roses
Vegetables and herbs:
- Tomatoes
- Peppers
- Carrots
- Leafy greens like spinach and kale
- Potatoes
Others:
- Blackberries
- Sweet peas
- Many flowering perennials
For lawns, a light application can green things up beautifully thanks to that nitrogen hit.
Avoid or use very sparingly around seedlings, newly planted seeds, or plants that prefer alkaline conditions like asparagus or geraniums. Always test a small area first if you’re unsure.
How to Prepare Coffee Grounds for Garden Use
Fresh (unbrewed) grounds are too acidic and caffeinated for most direct use. Stick to used ones.
Step 1: Collect and dry them. After brewing, let grounds cool completely. Spread them on a baking sheet or newspaper to air-dry for a few days. Stir occasionally to prevent mold. Dry grounds won’t clump as badly.
Step 2: Decide your method. Composting is safest for beginners. Direct application works too if done lightly.
Step-by-Step: Composting Coffee Grounds
Composting is my top recommendation because it balances everything perfectly and minimizes risks.
- Build balance: Coffee grounds are “green” (nitrogen-rich). Mix with “browns” like dry leaves, shredded paper, cardboard, or straw. Aim for no more than 15-20% grounds in the total pile.
- Layer it: Alternate layers—browns, greens (including grounds), a bit of soil or finished compost.
- Maintain moisture and air: Keep the pile damp like a wrung-out sponge. Turn it weekly with a pitchfork.
- Wait: In a few months (faster in warm weather), you’ll have rich, dark compost ready to use.
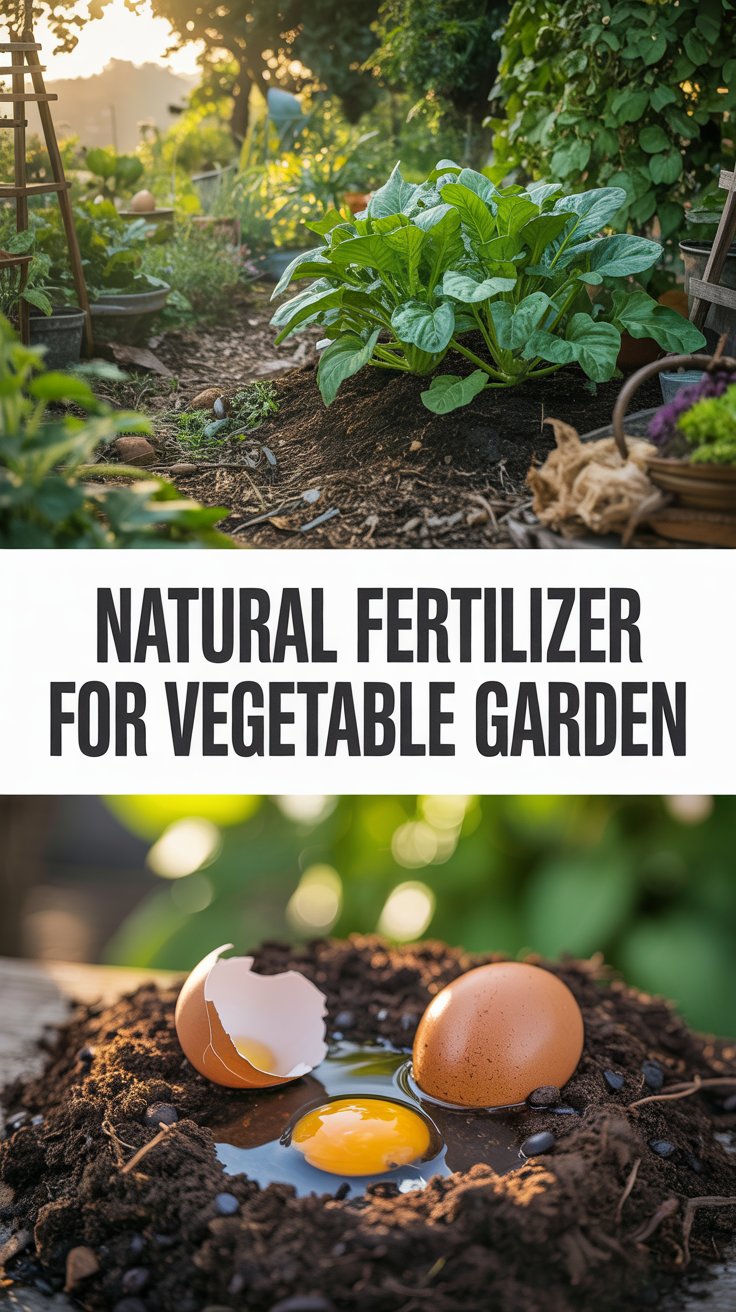
Pro tip: Add eggshells for calcium and to balance pH further. The results are worth the wait—your plants will thank you with vigorous growth.
Direct Application Methods for Coffee Grounds as Fertilizer
Want quicker results? Try these careful approaches:
- Sprinkle and rake: Use a thin layer (no more than ½ inch) around established plants. Rake lightly into the top inch or two of soil. Water well afterward.
- Coffee ground “tea”: Steep 2 cups of used grounds in 5 gallons of water overnight. Strain and use the liquid to water plants. Great for containers or a quick boost.
- Lawn treatment: Spread about ½ cup per square yard on grass, water in lightly. Do this monthly during growing season for steady nitrogen.
- Potting mix boost: Mix a small amount (about 10% by volume) into potting soil for houseplants or containers.
Always avoid thick layers—they can form a crust that blocks water and air.
Common Beginner Mistakes to Avoid
Even experienced gardeners slip up sometimes. Here are the big ones:
- Using too much at once (leads to compaction and water issues).
- Applying fresh, wet grounds (they mold and clump).
- Putting them directly on seedlings or seeds (can inhibit germination).
- Treating them as a complete fertilizer (they’re a supplement—pair with other amendments).
- Ignoring soil testing (your soil might not need extra nitrogen).
I once overdid it in a small bed and noticed stunted growth temporarily. Lesson learned: less is more, and patience pays off.
Troubleshooting Problems with Coffee Grounds
Issue: Yellow leaves or slow growth This could mean nitrogen imbalance or too much application. Ease off and add balanced compost.
Issue: Mold or crusting Too wet or thick layer. Rake it thinner, mix with other materials, and ensure good airflow.
Issue: Pests ignoring the deterrent Combine with other methods like beer traps for slugs. Grounds help but aren’t foolproof.
Issue: No visible results Remember, it’s slow-release. Give it time—weeks to months. Test soil pH and nutrients for better insights.
If dogs are around, bury grounds or compost them to avoid any caffeine concerns.
Creative Ways to Use Coffee Grounds Beyond Basic Fertilizing
Get a bit creative once you’re comfortable:
- Mix into mulch with wood chips for better texture.
- Use as a mild side-dressing for heavy feeders mid-season.
- Add to worm bins—red wigglers go crazy for them.
- Make a foliar spray (diluted tea) for leaf feeding.
Local coffee shops are goldmines for bulk supply. Just ask nicely—they’re usually happy to share.
Real-World Results and Observations
Over years of tinkering, I’ve noticed coffee grounds shine in vegetable gardens. My tomato plants produced more vigorously with consistent applications. Blueberries in containers stayed happy and productive.
Friends with clay-heavy soil reported better drainage after a season of amended compost. It’s not magic, but it’s reliable when you respect the “thin layer” rule.
One natural insight: gardens are living systems. Coffee grounds support the microbes and worms that do most of the heavy lifting. You’re not just feeding plants—you’re building healthier soil for the long haul.
Environmental Impact: Small Changes, Big Difference
Diverting grounds from landfills reduces methane emissions. Scaling this up in households and communities makes a real dent. Plus, you’re cutting back on chemical fertilizers that can harm waterways.
It feels good knowing your daily habit supports a greener planet.
FAQ: Coffee Grounds as Fertilizer
1. Are coffee grounds good for all plants? Mostly yes for established plants, especially acid-lovers and nitrogen-hungry veggies. Avoid on seedlings and very young plants. Test small areas first.
2. Should I compost coffee grounds or use them directly? Composting is safest and most effective for beginners. Direct use works if kept very thin and on mature plants.
3. Do coffee grounds acidify soil? Used grounds are close to neutral (around 6.5-6.8 pH). Fresh ones are more acidic. They won’t drastically change pH but help acid-loving plants mildly.
4. How often can I apply coffee grounds as fertilizer? Monthly during growing season is plenty. Over-application can cause problems—listen to your plants and soil.
5. Can I use flavored or decaf coffee grounds? Plain used grounds are best. Avoid heavily flavored ones that might contain additives. Decaf works fine.
6. Will coffee grounds deter slugs and cats? They can help with slugs due to texture and caffeine. For cats, they might scratch around it—combine with other barriers.
7. How do I store coffee grounds for later use? Dry them thoroughly and keep in a breathable container or bag in a cool, dry spot. Use within a few weeks to avoid mold.
Final Thoughts: Start Small and Watch Your Garden Come Alive
Using coffee grounds as fertilizer is one of those simple pleasures that connects your daily routine to something bigger—healthier plants, richer soil, and less waste. It might not replace all your gardening needs, but it adds a powerful, free tool to your kit.
Next time you brew a cup, think twice before tossing those grounds. Save them, dry them, and give your garden a treat. You’ll be amazed at how something so ordinary can lead to extraordinary results.
Ready to try it? Grab your next batch of used grounds and start with a small test area. Share your results in the comments—I’d love to hear how your garden responds. Happy gardening, and here’s to greener thumbs and fuller harvests!