
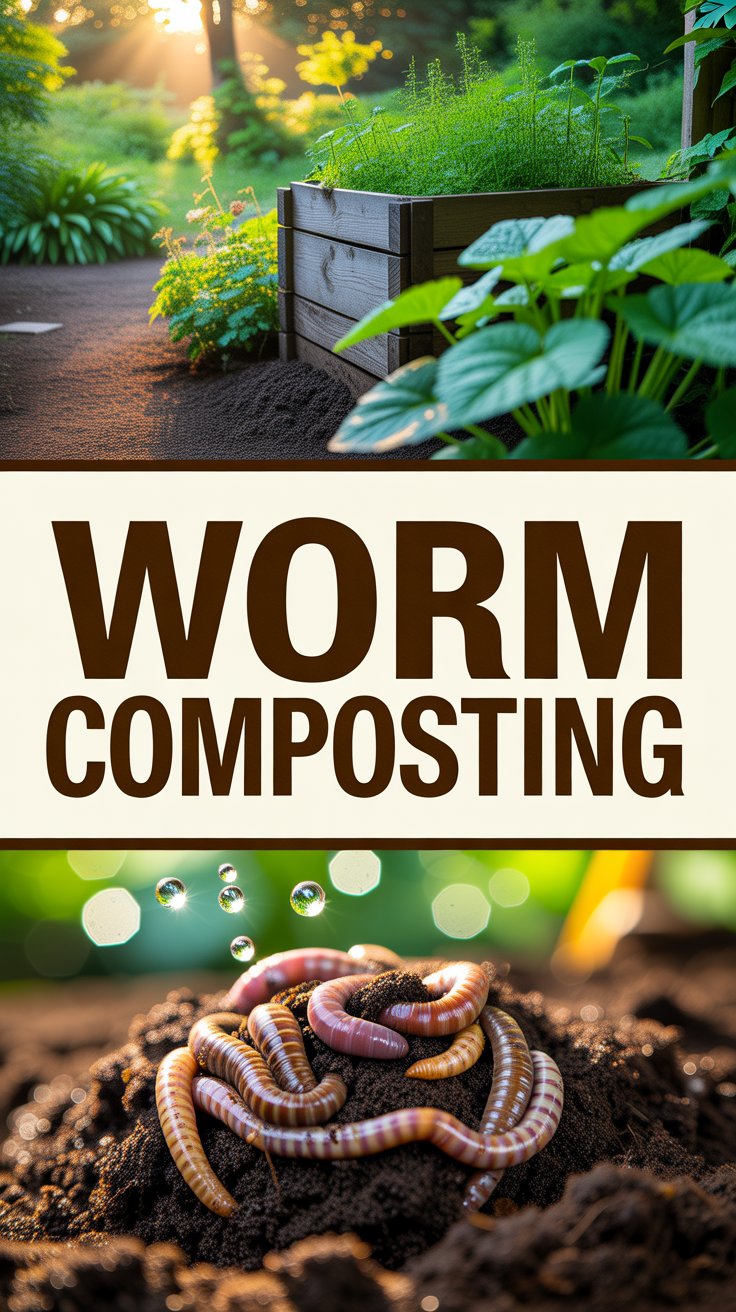
Imagine tossing your banana peels and coffee grounds into the trash, only to watch them sit in a landfill producing methane. What if those same scraps could become rich, dark compost that makes your plants thrive—without any heavy lifting or bad smells?
Worm composting, also known as vermicomposting, makes that possible. It’s a simple, beginner-friendly way to recycle food waste using hardworking red wiggler worms. Whether you live in a small apartment or have a backyard garden, this method fits almost anywhere and delivers incredible results.
In this guide, I’ll walk you through everything as your friendly, worm-obsessed neighbor who’s been doing this for years. You’ll learn how to set it up, avoid common pitfalls, and reap the rewards. Let’s get those worms working for you!
Quick Answer: What Is Worm Composting?
Worm composting is the process of using specific composting worms (mainly red wigglers) to break down kitchen scraps and organic materials into nutrient-rich vermicast, or worm castings. These castings are a powerful, natural fertilizer packed with beneficial microbes, nitrogen, phosphorus, potassium, and more.
It’s odor-free when done right, requires minimal space, and works indoors or out year-round. One pound of worms can process about half their weight in food daily, turning waste into “black gold” for your garden.
Why Start Worm Composting? The Surprising Benefits
You’ve probably heard of regular composting, but worm composting takes it to another level. It’s faster for food scraps, produces superior compost, and fits modern life perfectly.
Worm castings improve soil structure, boost water retention, and help plants resist pests and diseases. Many gardeners notice stronger roots, better yields, and vibrant growth.
Environmentally, it diverts waste from landfills, reducing methane emissions. One household can keep hundreds of pounds of scraps out of the trash annually.
It’s low-effort too—no turning piles or worrying about hot compost ratios. Plus, it’s fun. Watching those little wigglers transform garbage feels oddly satisfying.
For beginners, it’s forgiving once you get the basics. And the castings? They’re like superfood for plants—often outperforming commercial fertilizers in nutrient availability.
Getting Started: What You Need for Worm Composting
Don’t overcomplicate it. You need just a few things:
- A worm bin (DIY or store-bought)
- Red wiggler worms (Eisenia fetida)
- Bedding material
- Kitchen scraps
- A bit of grit (like crushed eggshells)
Start small. A 14-20 gallon bin works great for most households.
Pro Tip: Order worms from a reputable supplier. Don’t use nightcrawlers or earthworms from your yard—they won’t thrive on kitchen scraps.
Choosing and Setting Up Your Worm Bin
Your bin is the worms’ home, so get it right.
Popular options include plastic storage totes or multi-tray systems. For DIY, use two nested plastic bins: one for worms with drainage holes, and a bottom tray to catch liquid (worm tea).
Step-by-Step Bin Setup:
- Drill ventilation holes (about 1/8-inch) around the sides near the top and in the bottom for drainage.
- Elevate the bin slightly (bricks work well) for airflow and to collect leachate.
- Place it in a spot that’s 55–77°F (13–25°C), dark, and convenient—like under the kitchen sink, in a garage, or on a shaded patio.
Avoid direct sun or freezing spots. Consistent temperature keeps your worms happy and productive.
Preparing the Perfect Bedding
Bedding gives worms a cozy, moist environment and helps control moisture and odors.
Good materials: Shredded newspaper, cardboard, coconut coir, or aged leaves. Avoid glossy paper or colored inks.
How to Prep Bedding:
- Shred or tear into strips.
- Moisten until it feels like a wrung-out sponge (a few drops when squeezed).
- Fill the bin about 6–8 inches deep.
Fluff it up for airflow. Add a handful of soil or grit for digestion.
Adding Your Worms and First Feeding
Let the worms settle before heavy feeding.
Gently place them on top of the bedding. They’ll burrow down quickly to escape the light. Give them a day or two to acclimate.
Start with a small amount of chopped food scraps buried under the bedding. A pound of worms can handle about ½ pound of food per day once established.
What to Feed Your Worms (and What to Avoid)
Worms love a balanced diet. Think “greens” (nitrogen-rich) and “browns” (carbon-rich).
Great Foods for Worm Composting:
- Fruit and vegetable scraps
- Coffee grounds and filters
- Tea bags
- Crushed eggshells (for grit and calcium)
- Shredded paper towels or napkins
Avoid or Use Sparingly:
- Meat, dairy, oily foods (attract pests)
- Citrus, onions, garlic (too acidic in large amounts)
- Salty or processed foods
- Pet waste
Chop larger pieces for faster breakdown. Bury food to prevent flies.
Personal Insight: I once added too many melon rinds at once—lesson learned. Moderation keeps the bin balanced and odor-free.
Daily and Weekly Maintenance Tips
Worm composting is low-maintenance, but consistency matters.
- Check moisture weekly. Add water or dry bedding as needed.
- Stir gently every couple weeks for aeration.
- Add food when the previous batch is mostly gone.
- Keep a “blanket” of damp newspaper or cardboard on top to retain moisture and block light.
Harvest castings every 2–6 months when the bin looks mostly dark and earthy.
Harvesting Your Worm Castings
This is the rewarding part!
One easy method: Move all contents to one side, add fresh bedding and food to the empty side. Worms migrate over a week or two. Scoop out the finished side.
Or use light: Worms avoid bright light, so you can scrape layers gradually.
The result? Beautiful, crumbly vermicompost ready for your garden.
Using Worm Compost in Your Garden
Worm castings are versatile. Mix into potting soil (10–20%), top-dress around plants, or brew worm tea for a liquid boost.
Plants love it. Seedlings grow stronger, veggies produce more, and flowers bloom brighter. It also improves heavy clay or sandy soils over time.
Beginner Tip: Start light—over-application won’t burn plants like chemical fertilizers, but balance is key.
Common Beginner Mistakes to Avoid in Worm Composting
Everyone makes mistakes. Here are the big ones:
- Overfeeding: Leads to rot and smells. Start slow.
- Wrong moisture: Too wet causes anaerobic conditions; too dry stresses worms.
- Wrong worms or location.
- Adding forbidden foods.
- Neglecting temperature.
Monitor your bin often at first. It becomes intuitive quickly.
Troubleshooting Worm Composting Problems
Even seasoned worm farmers hit snags. Here’s help:
Bad Smell? Usually too wet or overfed. Add dry bedding, bury food deeper, and reduce scraps.
Worms Escaping? Check moisture, temperature, pH (aim for neutral with eggshells), or food supply.
Fruit Flies? Bury food well, use a trap (apple cider vinegar + dish soap), and add more bedding.
Slow Activity? Could be cold temps, low food, or overcrowding. Adjust and be patient.
Bin Too Wet? Add shredded cardboard generously.
Most issues resolve with small tweaks. Your worms are resilient!
Advanced Tips from a Long-Time Hobbyist
Once comfortable, try these:
- Harvest worm tea (leachate) diluted for plants.
- Scale up with multiple bins or a flow-through system.
- Share extra worms with friends.
- Experiment with different beddings for fun.
I’ve noticed my garden soil improves dramatically after consistent use. The microbial life in castings creates a living soil ecosystem.
Worm Composting FAQ
How long does it take to get usable compost from worm composting? It typically takes 2–6 months for a full cycle, depending on conditions, bin size, and feeding. You’ll see progress much sooner.
Can I do worm composting indoors without smells or bugs? Yes! A well-maintained bin is nearly odorless. Keep food buried and moisture balanced.
What’s the best worm bin for beginners? A simple plastic tote system or a ready-made tray bin. Start with 1–2 pounds of worms for an average household.
How many worms do I need? Start with 1 pound (about 1,000 worms) for every ½–1 pound of daily food waste. They reproduce naturally.
Is worm composting good for apartments? Absolutely. Compact bins fit under sinks or in closets and handle kitchen waste quietly.
Can I use regular garden worms? No—red wigglers are best. Garden worms don’t process food scraps efficiently in bins.
What if my worms die? Don’t panic. Check conditions (moisture, temp, food) and start fresh. It’s a learning process.
Final Thoughts: Embrace the Wiggly Magic of Worm Composting
There’s something deeply satisfying about closing the loop on your kitchen waste. Worm composting isn’t just practical—it’s empowering. You turn “trash” into treasure, nurture healthier soil, and connect with nature in a small but meaningful way.
Start small, be patient with yourself and your worms, and enjoy the journey. Before long, you’ll be harvesting rich castings and wondering how you ever lived without it.
Ready to begin? Grab a bin, order some red wigglers, and dive in. Your garden (and the planet) will thank you. Share your worm adventures in the comments—I’d love to hear how it goes!
Happy composting!