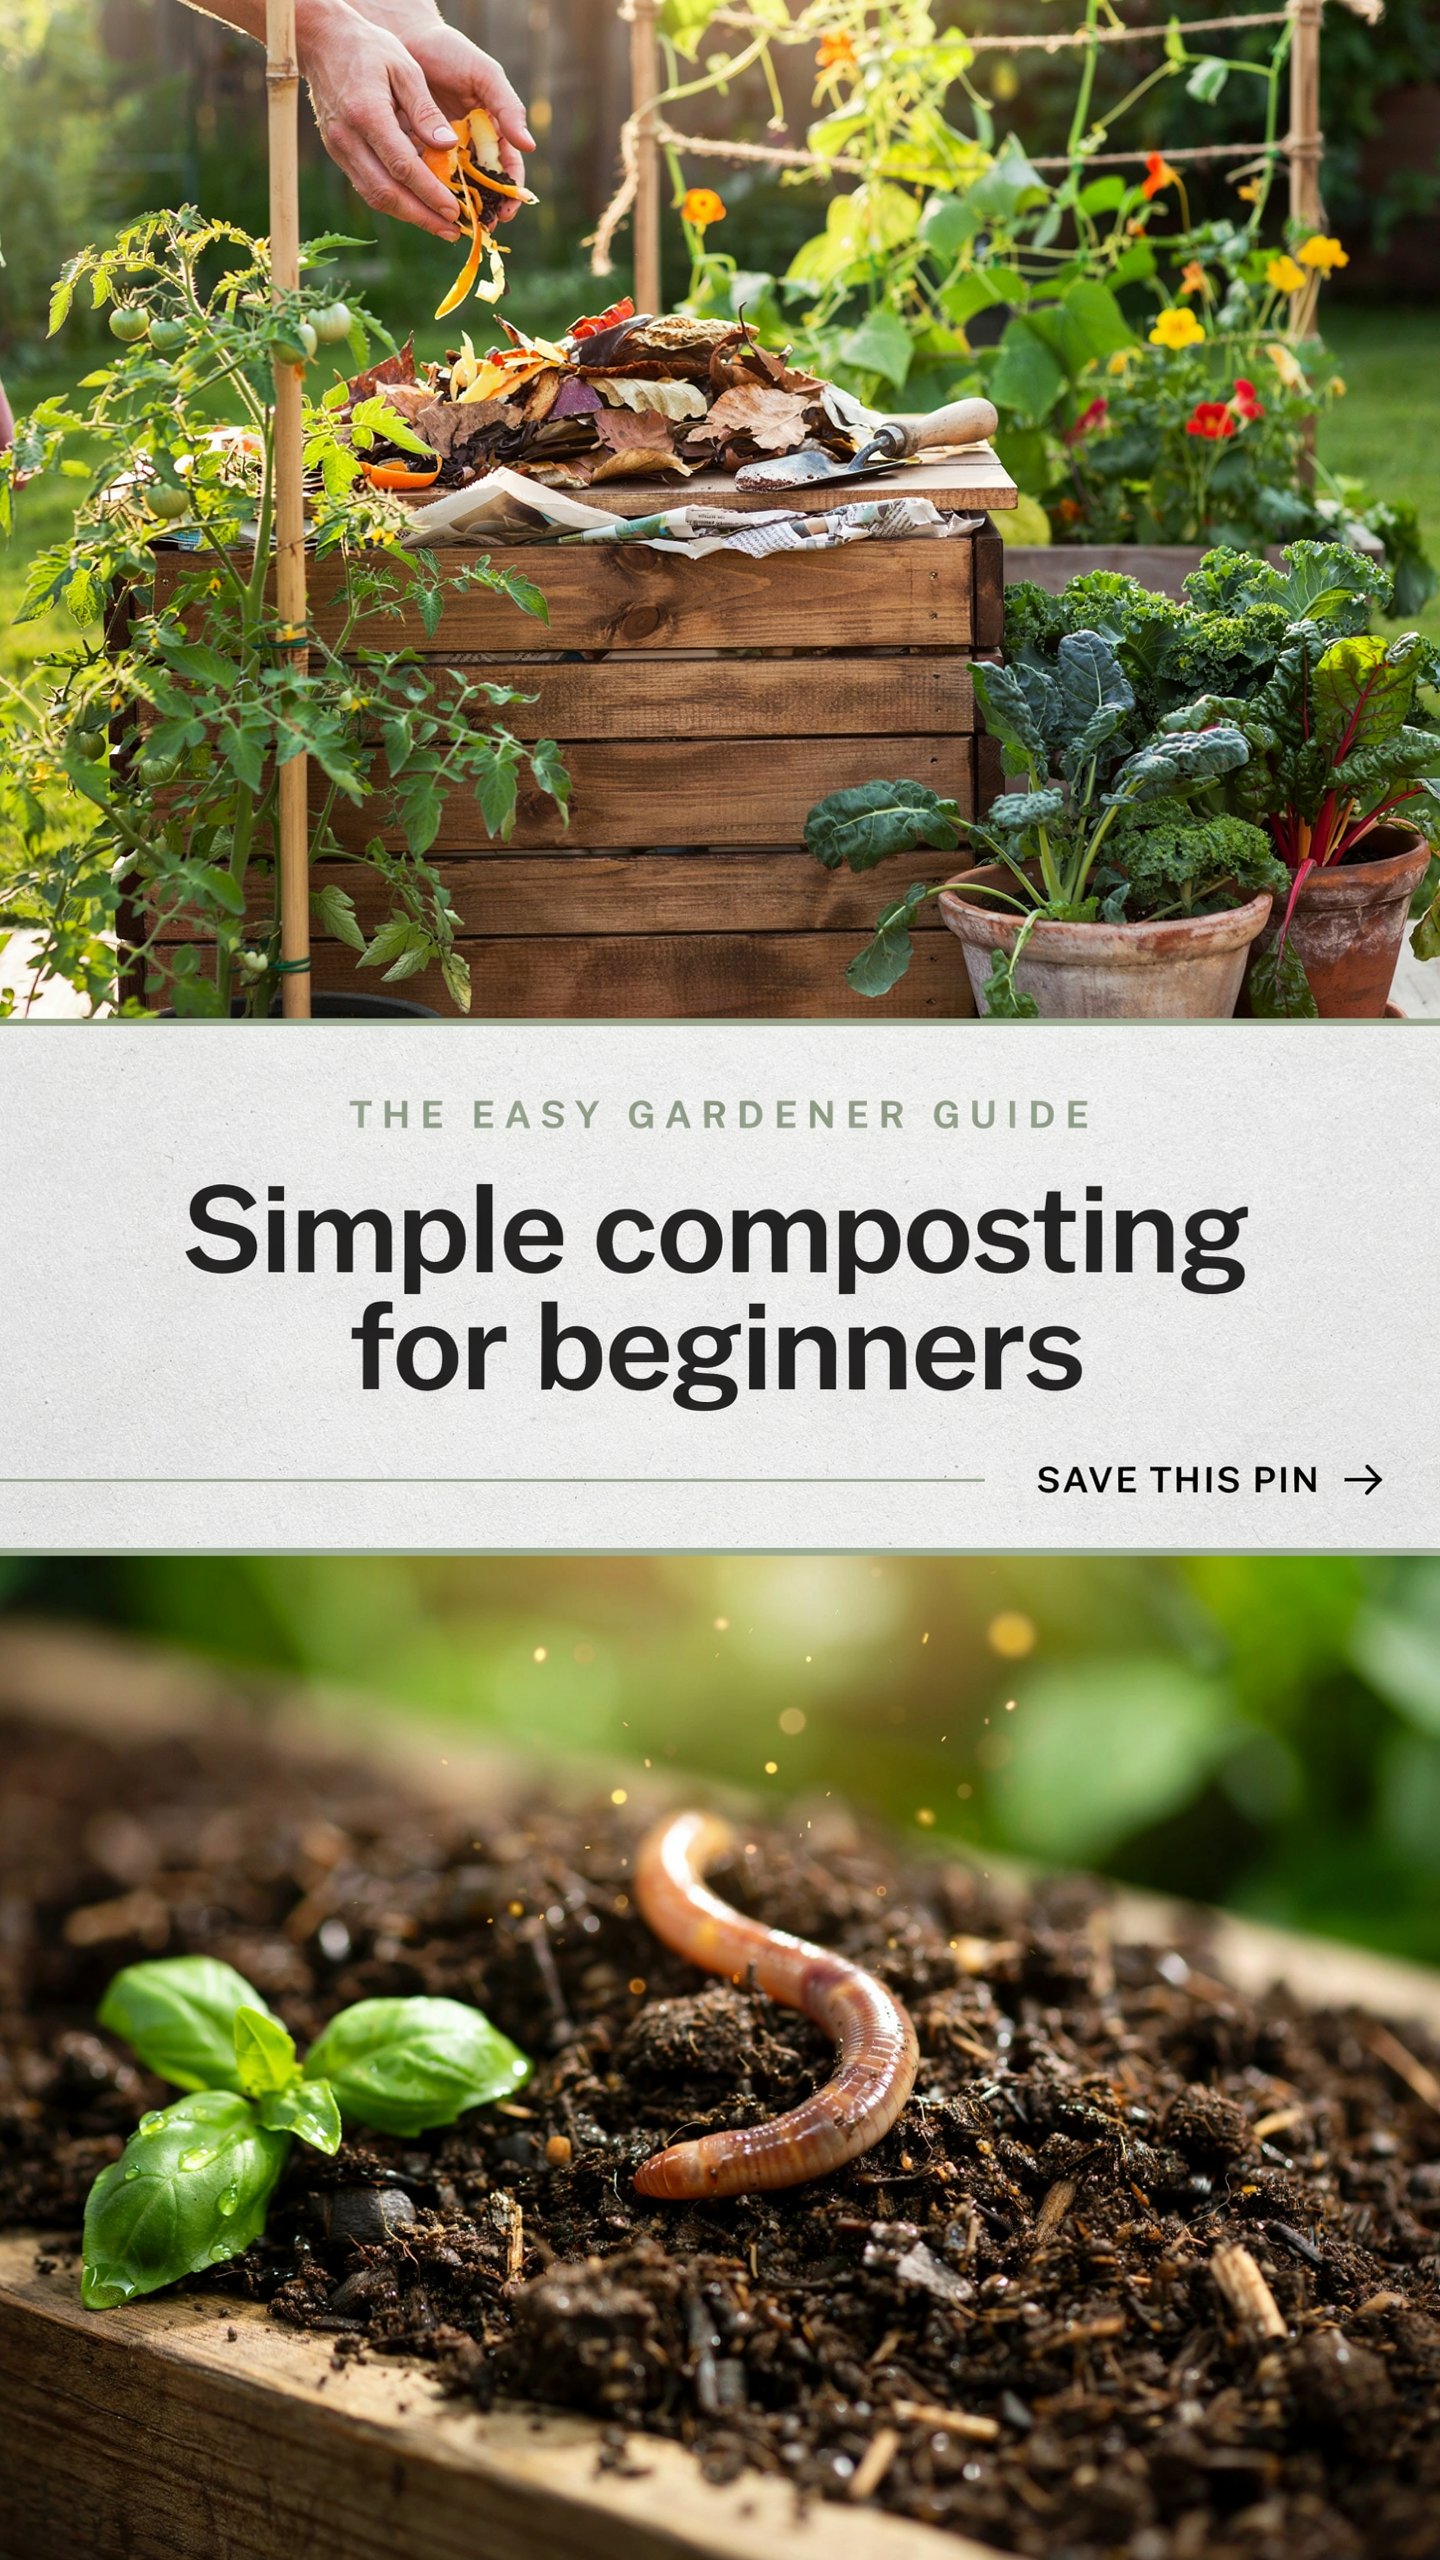
Imagine throwing away your banana peels, coffee grounds, and yard clippings every week, only to spend money later on expensive garden soil or fertilizer. What if those “waste” items could become rich, crumbly compost that makes your plants thrive like never before?
That’s the magic of simple composting for beginners. It’s not complicated science or a smelly chore. With the right approach, anyone can do it—even if you live in an apartment or have zero gardening experience.
I’ve been composting for years, starting with a tiny bin on a balcony that surprised me with how well it worked. In this guide, I’ll walk you through everything in plain, practical steps so you can start today and see results without frustration.
Quick Answers: Simple Composting for Beginners
What is composting? Composting is the natural process of breaking down organic materials into nutrient-rich soil. Bacteria, fungi, worms, and other tiny helpers do most of the work.
How long does it take for beginners? Simple methods can give you usable compost in 3–6 months. With hot composting or regular turning, you can speed it up to 6–8 weeks.
Can I compost in a small space? Yes! Apartment dwellers succeed with worm bins, bokashi, or small tumblers.
What’s the easiest way to start? Gather “browns” and “greens,” mix them in a bin or pile, keep it moist like a wrung-out sponge, and turn occasionally.
Will it smell bad? Only if something goes wrong. A well-managed compost pile smells earthy and pleasant.
Why Simple Composting Matters More Than Ever
Food waste is a huge problem. In many households, it makes up a big chunk of what goes to landfills, where it produces methane—a potent greenhouse gas.
By composting, you cut your waste, enrich your soil, and grow healthier plants that need fewer chemicals. It’s one of the most satisfying, low-effort things you can do for your garden and the planet.
The best part? Once you get the hang of it, composting becomes almost automatic. You’ll start looking at leftovers differently.
Understanding the Basics: Browns and Greens
All successful composting relies on balancing two types of materials:
- Browns (carbon-rich): Provide energy. Think dry leaves, cardboard, newspaper, straw, wood chips, or shredded paper.
- Greens (nitrogen-rich): Provide protein for microbes. Kitchen scraps like vegetable peels, fruit waste, coffee grounds, grass clippings, and plant trimmings.
Aim for roughly 2–3 parts browns to 1 part greens by volume. This balance keeps the pile from getting too wet or too dry.
Pro tip: Shred or chop materials into smaller pieces. They break down faster.
Choosing Your First Composting Setup
For beginners, keep it simple. Here are popular options:
- Backyard Pile or Bin – Great if you have outdoor space. A simple wire cage or wooden bin works.
- Tumbler – Enclosed and easy to turn. Good for keeping animals out.
- Worm Bin (Vermicomposting) – Perfect for apartments or small yards. Red wigglers do the work indoors or on a balcony.
- Bokashi Bucket – Anaerobic method using bran to ferment scraps. No turning needed.
Start with whatever matches your space. I began with a basic plastic bin with holes drilled for airflow and never looked back.
Step-by-Step: How to Start Composting Today
Step 1: Gather your materials Collect a good mix of browns and greens. Keep a small kitchen container (with lid) for daily scraps.
Step 2: Choose a location Pick a spot that’s convenient but not right against your house. Partial shade is ideal so it doesn’t dry out too fast.
Step 3: Build the base Start with a layer of coarse browns like twigs or cardboard for drainage and airflow.
Step 4: Add layers Alternate greens and browns. Sprinkle water as you go to keep everything damp but not soggy.
Step 5: Mix and cover Gently mix the layers. Top with a layer of browns to reduce smells and flies.
That’s it—you’ve started composting!
Maintaining Your Compost Pile
Consistency beats perfection. Check your pile weekly.
- Moisture: It should feel like a damp sponge. Add water during dry spells.
- Aeration: Turn the pile every 1–2 weeks with a garden fork. This adds oxygen and speeds decomposition.
- Temperature: In hot composting, the center can reach 130–160°F (55–70°C). You’ll feel the warmth when you dig in.
Don’t worry if it doesn’t get super hot at first. Slow, cool composting still works beautifully.
Real-World Observations from My Own Bins
In my first year, I made the classic mistake of adding too many greens. The pile got slimy and smelled. Once I added more shredded leaves, it recovered quickly.
Another lesson: Fruit flies can appear, but they’re harmless. Covering fresh scraps with browns usually solves it. Over time, you develop an intuition for what your pile needs.
Common Beginner Mistakes (and How to Avoid Them)
- Adding meat, dairy, or oily foods (attracts pests).
- Letting the pile dry out completely.
- Burying it under too many greens without browns.
- Turning too often or not enough.
- Using glossy paper or treated wood.
Avoid these, and you’ll save yourself headaches. Remember, compost happens even if it’s not textbook perfect.
Troubleshooting Common Problems
Pile smells bad (ammonia-like): Too many greens or too wet. Add browns and turn it.
Pile is dry and not breaking down: Add water and greens, then mix.
Lots of flies or maggots: Normal in small numbers, but cover food scraps deeply. Fruit flies indicate too much fresh material on top.
Pile isn’t heating up: It might be too small, too dry, or lacking nitrogen. Add more greens and turn.
Animals digging in: Use a bin with a lid or bury food waste deeper.
Most issues fix themselves with a little adjustment and patience.
How to Know When Your Compost Is Ready
Finished compost is dark, crumbly, and smells like forest soil. You shouldn’t recognize most original materials.
Test it: If it’s been 3+ months and looks good, screen out larger pieces and use the rest.
Using Your Homemade Compost
Mix it into garden beds, use as mulch around plants, or make “compost tea” by steeping it in water for a liquid fertilizer.
Start small—your seedlings and houseplants will thank you with faster growth and better resistance to pests.
I still get a thrill every time I spread my own compost. There’s something deeply rewarding about closing the loop from kitchen to garden.
Advanced Tips for Simple Composting Success
- Chop scraps finely.
- Save dry leaves in bags during fall for future browns.
- Add crushed eggshells for calcium.
- Include coffee grounds—they’re great “greens.”
- Monitor in different seasons. Winter slows things down; summer speeds them up.
Experiment gently. Composting is forgiving once you understand the basics.
Benefits Beyond the Garden
Simple composting teaches patience and observation. You’ll become more aware of your household waste and feel good about reducing it.
Many beginners report healthier gardens, fewer store-bought amendments, and even a bit of pride showing off their “black gold” to friends.
FAQ: Simple Composting for Beginners
Can I compost if I live in an apartment? Absolutely. Worm bins or bokashi systems work great indoors or on balconies. They’re compact and low-odor when managed well.
What should I never put in my compost? Avoid meat, fish, dairy, bones, pet waste, diseased plants, and invasive weeds with seeds. These can cause smells or spread problems.
How much compost will I actually get? You’ll be surprised. A well-managed pile can reduce your waste volume by 50–70% and produce several buckets of finished compost per season.
Does composting attract rodents? It can if you add attractive foods without proper management. Use enclosed bins and bury food scraps in the center.
Is store-bought compost better than homemade? Homemade is usually richer and fresher. Store-bought is convenient but can be inconsistent. Making your own gives you control and satisfaction.
Can I compost in winter? Yes, though it slows down. Keep adding materials and insulate the bin if possible. You’ll get a big burst of activity in spring.
How do I start composting with kids? Make it fun! Let them help collect scraps, turn the pile, and observe the creatures at work. It’s a wonderful hands-on lesson in nature’s cycles.
Your First Batch Awaits
Starting simple composting doesn’t have to be overwhelming. Begin small, stay consistent with the browns and greens balance, and give it time. Before long, you’ll have rich compost improving your soil and reducing your waste.
There’s real joy in transforming yesterday’s scraps into tomorrow’s garden bounty. You’ve got this.
Grab a bin, start collecting those kitchen scraps, and take that first step today. Your plants (and the planet) will be better for it.
Drop a comment below and tell me what your first compost experiment looks like—I’d love to hear your story and answer any questions.
Happy composting!