
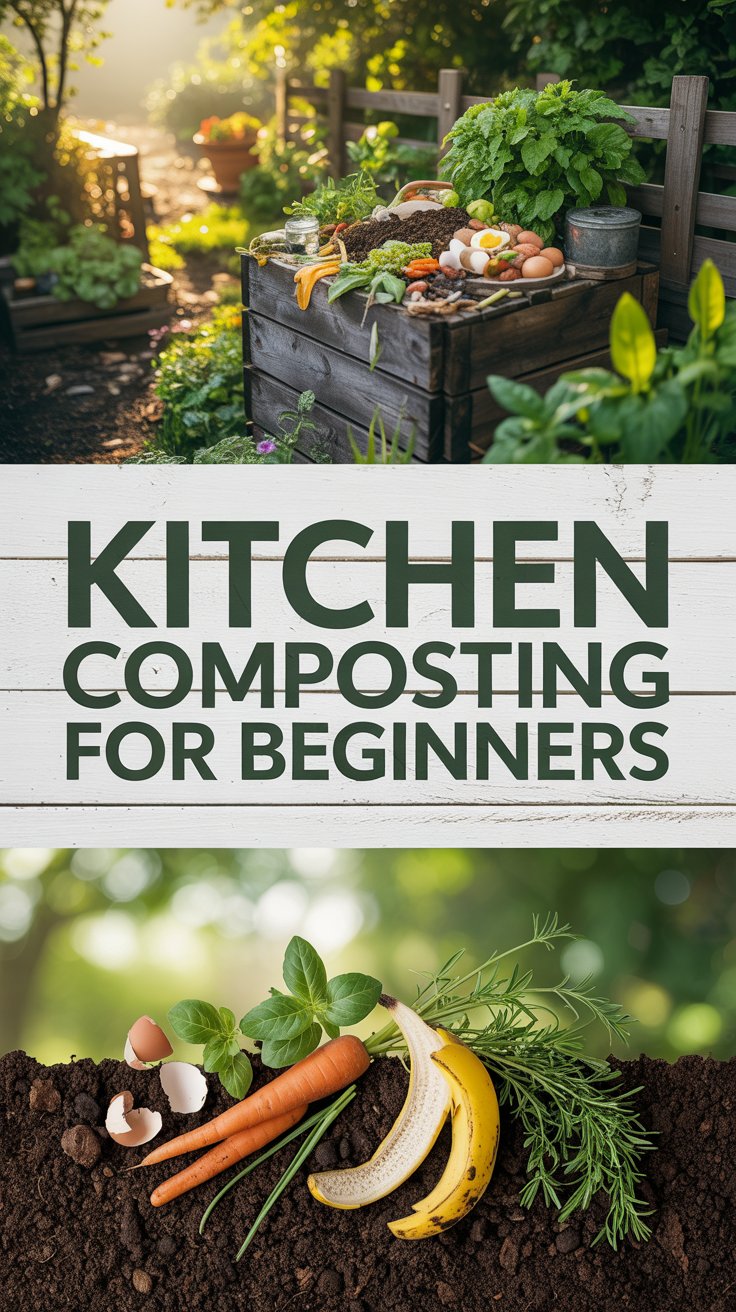
Imagine standing in your kitchen, peeling vegetables or finishing your morning coffee, and instead of tossing those scraps into the trash, you give them a second life. That guilty little twinge you feel when food waste hits the bin? It can disappear. Kitchen composting for beginners is simpler than most people think—and incredibly rewarding.
If you’re tired of watching perfectly good organic matter head to the landfill (where it creates methane), this guide is for you. I’ll walk you through everything in plain, friendly language, from setup to harvest, with the practical tips I’ve gathered from years of trial and error. No fancy equipment or green thumb required.
Quick Answer: What Is Kitchen Composting for Beginners?
Kitchen composting turns your food scraps and yard bits into nutrient-rich “black gold” for plants. You collect greens (nitrogen-rich scraps like veggie peels) and browns (carbon-rich like leaves or paper), balance them, keep the mix moist and airy, and let microbes do the work. In a few months, you get free soil amendment that boosts gardens, houseplants, and saves money. It’s beginner-friendly, cuts waste dramatically, and feels great.
Why Start Kitchen Composting? The Real Benefits
Food waste makes up a huge chunk of household trash—often 20-30% or more. When it rots in landfills, it produces methane, a potent greenhouse gas. Composting at home slashes that impact.
Your plants will thank you too. Finished compost improves soil structure, helps it hold water better, and delivers nutrients slowly. You’ll spend less on store-bought fertilizer and grow stronger, more resilient plants.
Personally, I love the quiet satisfaction of closing the loop: scraps from my kitchen feeding next season’s tomatoes. It’s empowering, especially in small spaces or apartments where every bit counts.
Other perks? Reduced trash bags, fewer odors in your regular bin, and a fun, low-stakes hobby that even kids enjoy.
Getting Started: Kitchen Composting for Beginners
Don’t overthink the setup. Start small and build confidence.
Choosing Your Collection System
For daily scraps, a simple countertop or under-sink bin works wonders. Look for one with a tight lid and charcoal filter to control smells. Stainless steel options are durable and easy to clean.
A basic 1-2 gallon container is plenty for most households. Keep it on the counter for convenience, or tuck it away. Some people freeze scraps in a bag to minimize odor until emptying.
Pro tip: Line it with newspaper or use compostable liners if you want easy cleanup.
Picking a Composting Method
Several beginner-friendly options exist:
- Outdoor Bin or Pile: Great if you have yard space. Tumblers make turning easy.
- Worm Composting (Vermicomposting): Perfect for apartments. Red wigglers eat scraps and produce rich castings.
- Bokashi: Anaerobic fermentation in a sealed bucket—handles meat and dairy better, but needs burying afterward.
- Electric Composters: Quick but more expensive; they process scraps into soil-like material fast.
For true beginners, start with a simple collection bin plus an outdoor or worm system.
What to Compost (and What to Skip)
Balance is everything. Think “greens” for nitrogen and “browns” for carbon.
Greens (Nitrogen-rich, wet):
- Fruit and vegetable scraps/peels
- Coffee grounds and filters
- Tea bags (remove staples)
- Crushed eggshells
- Fresh grass clippings
- Houseplant trimmings
Browns (Carbon-rich, dry):
- Dry leaves
- Shredded newspaper or cardboard (non-glossy)
- Straw or hay
- Untreated wood chips or sawdust
- Paper egg cartons (shredded)
What NOT to add (especially as a beginner):
- Meat, fish, bones, or dairy (attract pests and smell bad)
- Greasy or oily foods
- Pet waste
- Diseased plants or weeds with seeds
- Charcoal ash or treated wood
Stick to plant-based kitchen scraps at first. This keeps things simple and odor-free.
Aim for roughly 2-3 parts browns to 1 part greens by volume. Too many greens = slimy, smelly mess. Too many browns = slow process.
Step-by-Step: How to Set Up Your Kitchen Composting System
- Gather supplies: Bin for collection, outdoor bin/tumbler or worm bin, brown materials on hand.
- Set up collection: Place your kitchen bin on the counter. Chop scraps smaller for faster breakdown.
- Choose location: For outdoor—shaded spot with good drainage, away from house but accessible. For worms—under sink or in a cool spot indoors.
- Build the base: Start with a layer of browns (twigs or shredded paper) for airflow and drainage.
- Layer it up: Add greens, cover with browns. Keep everything about as moist as a wrung-out sponge. Mix or turn occasionally.
- Maintain: Check weekly. Turn for aeration. Add browns if it gets too wet.
Chop larger pieces and mix materials well. This speeds things up.
Daily Habits That Make Composting Easy
Make it routine. Rinse eggshells and crush them. Save coffee grounds daily. Keep a bag of shredded paper or dry leaves nearby.
Empty your kitchen collector every few days—more often in warm weather. Bury scraps deep in the pile to deter flies.
In winter, things slow down, but that’s okay. Just keep adding and it will catch up in spring.
Common Beginner Mistakes (and How to Avoid Them)
- Too wet or slimy: Add more browns and turn it.
- Bad smells: Usually from imbalance or lack of air. Fix by adding dry materials and aerating.
- Fruit flies: Cover scraps well or store in fridge/freezer temporarily.
- Ignoring balance: Always cover greens with browns.
- Adding forbidden items: Stick to the safe list early on.
- Impatience: Composting takes 2-12 months depending on method. Don’t rush it.
I’ve made most of these mistakes myself. The pile that turned into soup taught me the value of browns quickly!
Troubleshooting Kitchen Composting Issues
- Smelly pile? Too wet or anaerobic. Turn it, add browns, and ensure airflow.
- Slow decomposition? Chop materials smaller, add more greens (balanced), keep moist, and turn more often. Warmth helps.
- Pests? Use a secure bin, bury food deep, avoid meat/dairy.
- Too dry? Water lightly and mix.
- Mold? Normal in small amounts; just mix it in.
Most issues resolve with turning and balancing. Nature is resilient.
Using Your Finished Compost
How do you know it’s ready? It should be dark, crumbly, earthy-smelling, and unrecognizable from the originals.
Sift out any big chunks and let it cure a bit more if needed. Mix into garden beds, use as top dressing for plants, or make compost tea for a nutrient boost.
Start small—use it on houseplants or a few veggies first. You’ll see the difference in growth and soil health.
Real-World Insights from a Hobbyist
After years of composting, I’ve learned it’s not always perfect, and that’s fine. Some batches cook fast in summer heat; others linger. The joy is in the process and the free fertilizer.
In small apartments, worm bins or Bokashi have been game-changers for friends. Even one small bin makes a measurable dent in waste.
Kids love checking on the worms or turning the pile. It turns sustainability into a family adventure.
Advanced Tips for Better Results
- Shred or chop everything for faster breakdown.
- Monitor temperature—hot piles (around 130-160°F) kill weeds/seeds but need more management.
- Save “browns” in advance—stockpile leaves in fall.
- Combine methods: Use Bokashi for tricky scraps, then finish in a traditional pile.
- Track what works in your climate.
Kitchen Composting for Beginners: FAQs
How do I start kitchen composting with no yard space? Use a worm bin indoors or countertop Bokashi system. Collect scraps and process small batches. Many apartments succeed this way.
Will it smell in my kitchen? A good sealed bin with a filter shouldn’t. Empty regularly and rinse as needed. Freezing scraps helps too.
How long until I get usable compost? 2-6 months for active systems, longer if passive. Patience pays off.
Can I compost in winter? Yes! Activity slows, but keep adding. Insulate outdoor bins or focus on indoor methods.
What if I add something I shouldn’t? Remove it if possible, add lots of browns, and turn well. Learn from it—most minor slips are fixable.
Is kitchen composting worth it for one person? Absolutely. Even small amounts reduce waste and give you rich soil for houseplants or a balcony garden.
Do I need special worms or bran? For vermicomposting, yes—red wigglers. For standard, no—just balance and time.
Wrapping Up: Your Composting Journey Awaits
Kitchen composting for beginners isn’t about perfection—it’s about progress. One bin, one habit at a time, you’ll turn waste into wonder, lighten your environmental footprint, and grow better plants.
Start today with a simple collection bin and some scraps. Before long, you’ll wonder how you ever threw them away.
Ready to dive in? Grab a bin, gather some browns, and join the millions finding joy in this simple loop. Your garden (and the planet) will thank you. Happy composting!