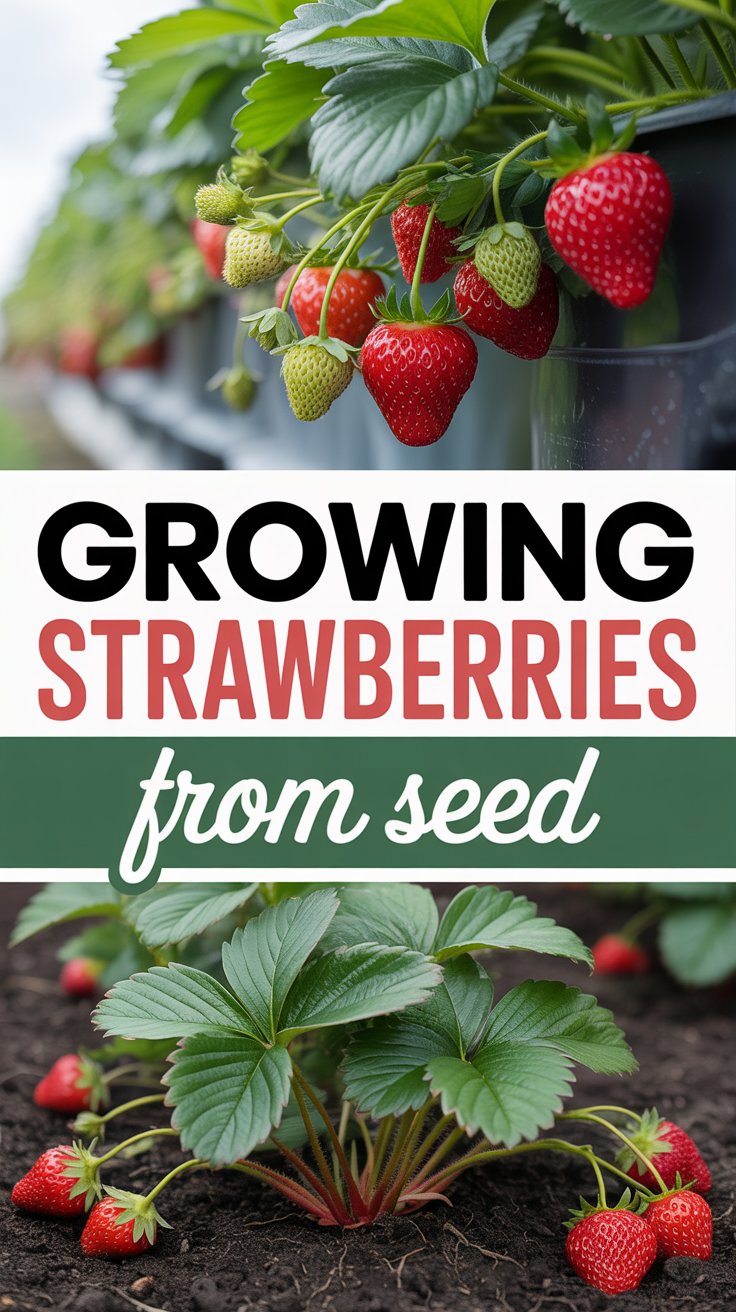

Have you ever bitten into a sun-warmed strawberry and thought, “I wish I could grow these myself”? Maybe you’ve tried buying starter plants only to watch them struggle, or you’re dreaming of a backyard patch bursting with sweet berries but don’t know where to begin.
Growing strawberries from seed might sound intimidating, especially if you’re new to gardening. But here’s the good news: with a bit of patience and the right approach, you can turn tiny seeds into productive plants that give you fresh harvests for years. It’s slower than buying plugs or runners, but incredibly rewarding—and you get to choose unique varieties that often aren’t available as plants.
In this guide, I’ll walk you through everything as a fellow hobby gardener who’s learned from both successes and a few muddy mistakes. Let’s grow some strawberries!
Quick Answer: Can You Really Grow Strawberries from Seed?
Yes! Strawberry seeds take 1–6 weeks to germinate. Seedlings need 10–14 weeks indoors before transplanting. You might get a small harvest in the first year, but expect fuller production in year two. They need full sun, well-draining slightly acidic soil, consistent moisture, and cold stratification for best results.
Why Grow Strawberries from Seed?
Most people start with nursery plants or runners because they’re faster. But seeds open up a world of possibilities. You can try alpine strawberries with their intense flavor, everbearing types for longer harvests, or rare heirlooms.
Seeds are also cheaper and let you grow dozens of plants from one packet. Plus, there’s something magical about watching those delicate first leaves unfurl.
The trade-off? Time and patience. Strawberries from seed are slow starters, but once established, they’re tough little perennials.
Choosing the Right Strawberry Seeds
Not all strawberries are the same. For home gardens, focus on these types:
- June-bearing: Big crop in early summer. Great for preserving.
- Everbearing/Day-neutral: Produce smaller berries throughout the season. Excellent for fresh eating.
- Alpine/Wild: Tiny, fragrant berries with intense taste. Perfect for containers or edging paths.
Look for fresh seeds (under 2 years old for better germination). Popular varieties include ‘Alexandria’, ‘Mara des Bois’, or ‘White Soul’ for something different.
Pro tip: Buy from reputable seed companies. Seeds from grocery store berries often don’t grow true to type and can be hybrids that disappoint.
When to Start Strawberry Seeds
Timing is everything. Start seeds indoors 10–14 weeks before your last spring frost. In many areas, that means January to March.
This long head start gives seedlings time to develop strong roots before moving outside. Rushing this step leads to weak plants that struggle in the garden.
Step-by-Step: How to Grow Strawberries from Seed Indoors
1. Cold Stratification – Mimicking Winter
Many strawberry seeds need a cold period to break dormancy. Place seeds in a sealed bag or jar with a slightly damp paper towel and refrigerate for 30 days (34–39°F / 1–4°C).
Don’t skip this unless the packet says otherwise. It dramatically improves germination rates.
2. Gather Your Supplies
You’ll need:
- Seed starting mix (light and sterile)
- Seed trays or small pots with drainage
- Spray bottle for gentle watering
- Plastic wrap or humidity dome
- Grow lights or a very bright south-facing window
- Vermiculite or perlite for topping (optional)
Avoid garden soil indoors—it can harbor diseases and stay too heavy.
3. Sowing the Seeds
Fill trays with moistened seed starting mix. The mix should feel like a wrung-out sponge.
Sprinkle seeds thinly on the surface. Strawberry seeds need light to germinate, so press them gently into the mix but don’t cover them. A light dusting of vermiculite helps retain moisture without blocking light.
Mist thoroughly, cover with plastic, and place in a warm spot (65–75°F / 18–24°C).
4. Germination and Early Care
Be patient—germination can take 1 to 6 weeks. Keep the soil consistently moist but not soggy. Once sprouts appear, remove the cover and provide strong light immediately to prevent leggy seedlings.
I like using grow lights on a timer for 14–16 hours a day. The difference in plant quality is huge compared to a windowsill.
Caring for Strawberry Seedlings
Watering Wisely
Water from the bottom when possible to avoid damping off (a fungal issue that kills seedlings). Keep soil moist but never waterlogged.
Potting Up
When seedlings have 2–3 true leaves, transplant them into individual pots. This prevents competition and gives roots room to grow. Six weeks after germination, move to larger pots.
Fertilizing
Start with a diluted, balanced fertilizer once they have several sets of leaves. Strawberries are hungry plants but young seedlings burn easily—go light.
Hardening Off
About two weeks before your last frost, gradually introduce seedlings to outdoor conditions. Start with short periods in shade and increase time and sun exposure daily. This prevents transplant shock.
Transplanting to the Garden or Containers
Choose a spot with at least 8 hours of full sun. Soil should be well-draining and slightly acidic (pH 5.5–6.8). Amend heavy clay with plenty of compost.
Plant seedlings so the crown (where leaves meet roots) sits right at soil level. Burying it too deep causes rot; leaving roots exposed dries them out.
Space plants 12–18 inches apart depending on variety and method (matted row vs. individual hills).
Mulch with straw, pine needles, or shredded leaves. It keeps fruit clean, retains moisture, and suppresses weeds.
Ongoing Care for Thriving Strawberry Plants
Watering
Strawberries have shallow roots and need consistent moisture—about 1 inch per week. Inconsistent watering leads to small or cracked berries.
Fertilizing
Use a balanced organic fertilizer in spring. Side-dress with compost mid-season. Too much nitrogen gives lush leaves but few flowers.
Managing Runners
In the first year, pinch off most runners so energy goes into root and crown development. In later years, let some root for new plants or remove them to keep the bed tidy.
Winter Protection
In colder climates, mulch heavily after the ground freezes to protect crowns. Remove excess mulch in early spring.
Common Beginner Mistakes to Avoid
- Planting too deep or too shallow: Crown position is critical.
- Overwatering seedlings: Leads to rot and damping off.
- Not providing enough light: Results in weak, spindly plants.
- Skipping stratification: Poor or no germination.
- Expecting big harvests year one: Be patient—focus on strong plants.
I’ve made most of these mistakes myself. The first time I grew from seed, I was so excited I planted them out too early and lost half to a late frost. Learn from my impatience!
Troubleshooting Common Problems
No germination? Check temperature, moisture, and whether seeds were stratified. Old seeds may fail.
Seedlings dying? Damping off is common. Improve air circulation and avoid overwatering.
Yellow leaves? Could be nutrient deficiency or overwatering. Test soil pH.
No flowers/fruit? First-year plants often focus on roots. Ensure full sun and proper variety for your climate. Poor pollination can also cause deformed berries.
Pests: Watch for slugs, tarnished plant bugs, and birds. Netting helps with birds. Slug traps or beer traps work for slugs.
Diseases: Gray mold thrives in humid conditions. Space plants well and remove old leaves.
Harvesting and Enjoying Your Strawberries
Berries are ready when fully red (or white/pink for some varieties) and easily pull away from the stem. Pick in the morning for best flavor.
Eat them fresh, make jam, freeze for smoothies, or bake into treats. Nothing beats the taste of homegrown berries still warm from the sun.
Container Growing Strawberries from Seed
Don’t have garden space? No problem. Strawberries thrive in pots, hanging baskets, or vertical planters. Use at least 5–6 inches deep containers with good drainage.
This method works great for patios or small balconies. Just ensure they get enough sun and water more frequently than in-ground plants.
Extending Your Strawberry Season
Plant a mix of June-bearing and everbearing varieties for a longer harvest window. Succession planting and proper care can give you berries from late spring into fall in many climates.
Real Talk from the Garden
Growing strawberries from seed taught me patience. Those first tiny plants look so fragile, but they toughen up. By midsummer, you’ll see runners stretching out like they’re claiming territory.
One of my favorite memories is my daughter discovering the first ripe berry and her eyes lighting up. That moment makes all the waiting worthwhile.
Frequently Asked Questions
How long does it take to grow strawberries from seed to fruit? From seed to first possible harvest is usually 5–7 months under good conditions, but a full, satisfying crop often comes in the second year.
Do strawberry seeds need to be stratified? Most do benefit from 30 days of cold stratification in the fridge. It mimics winter and improves germination rates significantly.
Can I grow strawberries from seeds of store-bought berries? Technically yes, but results vary. Many commercial strawberries are hybrids that won’t grow true to type. It’s better to buy named variety seeds.
Why are my strawberry seedlings so slow? They’re naturally slow growers at first. Provide strong light, consistent moisture, and patience. They speed up once potted up and moved outside.
Will strawberries from seed produce runners? Yes, most varieties will. Use them to expand your patch or share with friends.
How many plants should a beginner start with? Start with 10–20 seedlings. This gives you enough for a small bed while not being overwhelming.
Final Thoughts: Your Strawberry Journey Awaits
There’s something deeply satisfying about growing strawberries from seed. You start with something almost too small to see and end up with baskets of sweet, juicy fruit you grew yourself.
It might not be the fastest way, but it’s one of the most rewarding. Whether you have a big backyard or just a sunny windowsill, you can do this.
Grab some seeds, mark your calendar, and get started. I’d love to hear how your strawberry adventure goes—drop a comment with your favorite variety or any questions.
Happy gardening, friend. May your berries be plentiful and your harvests sweet!