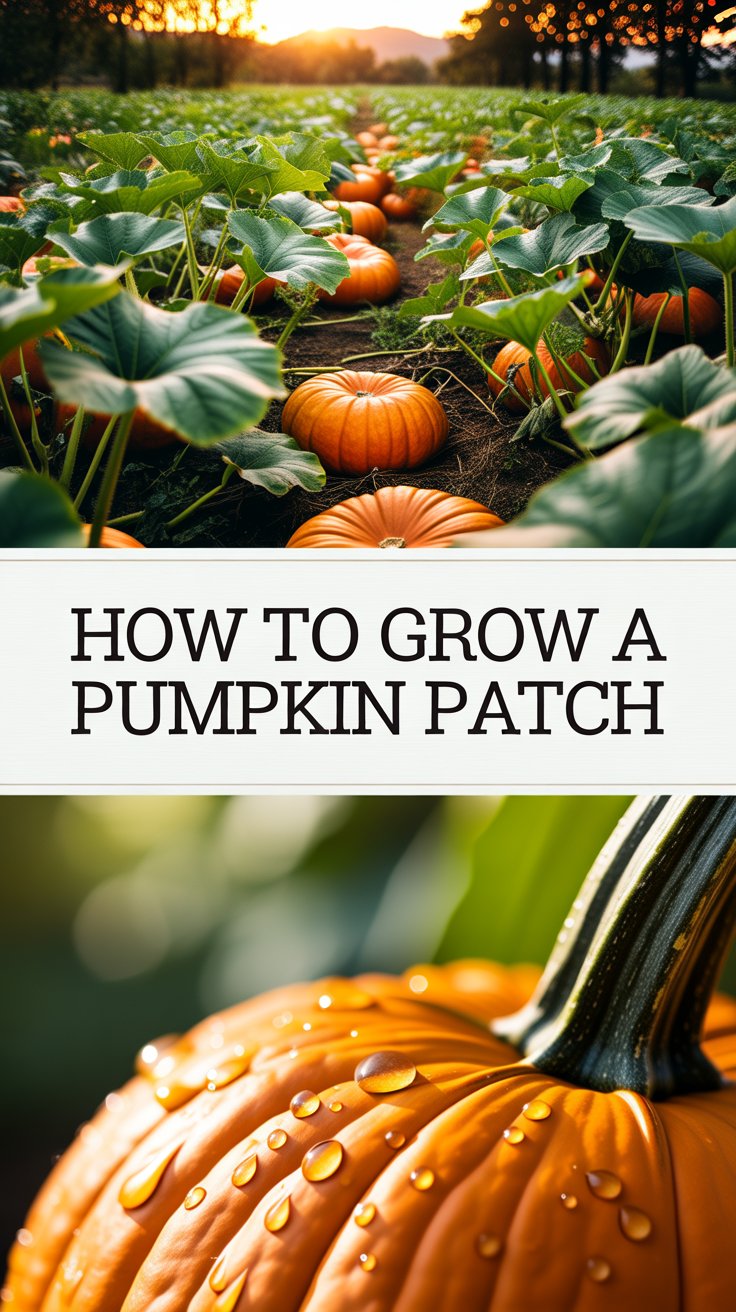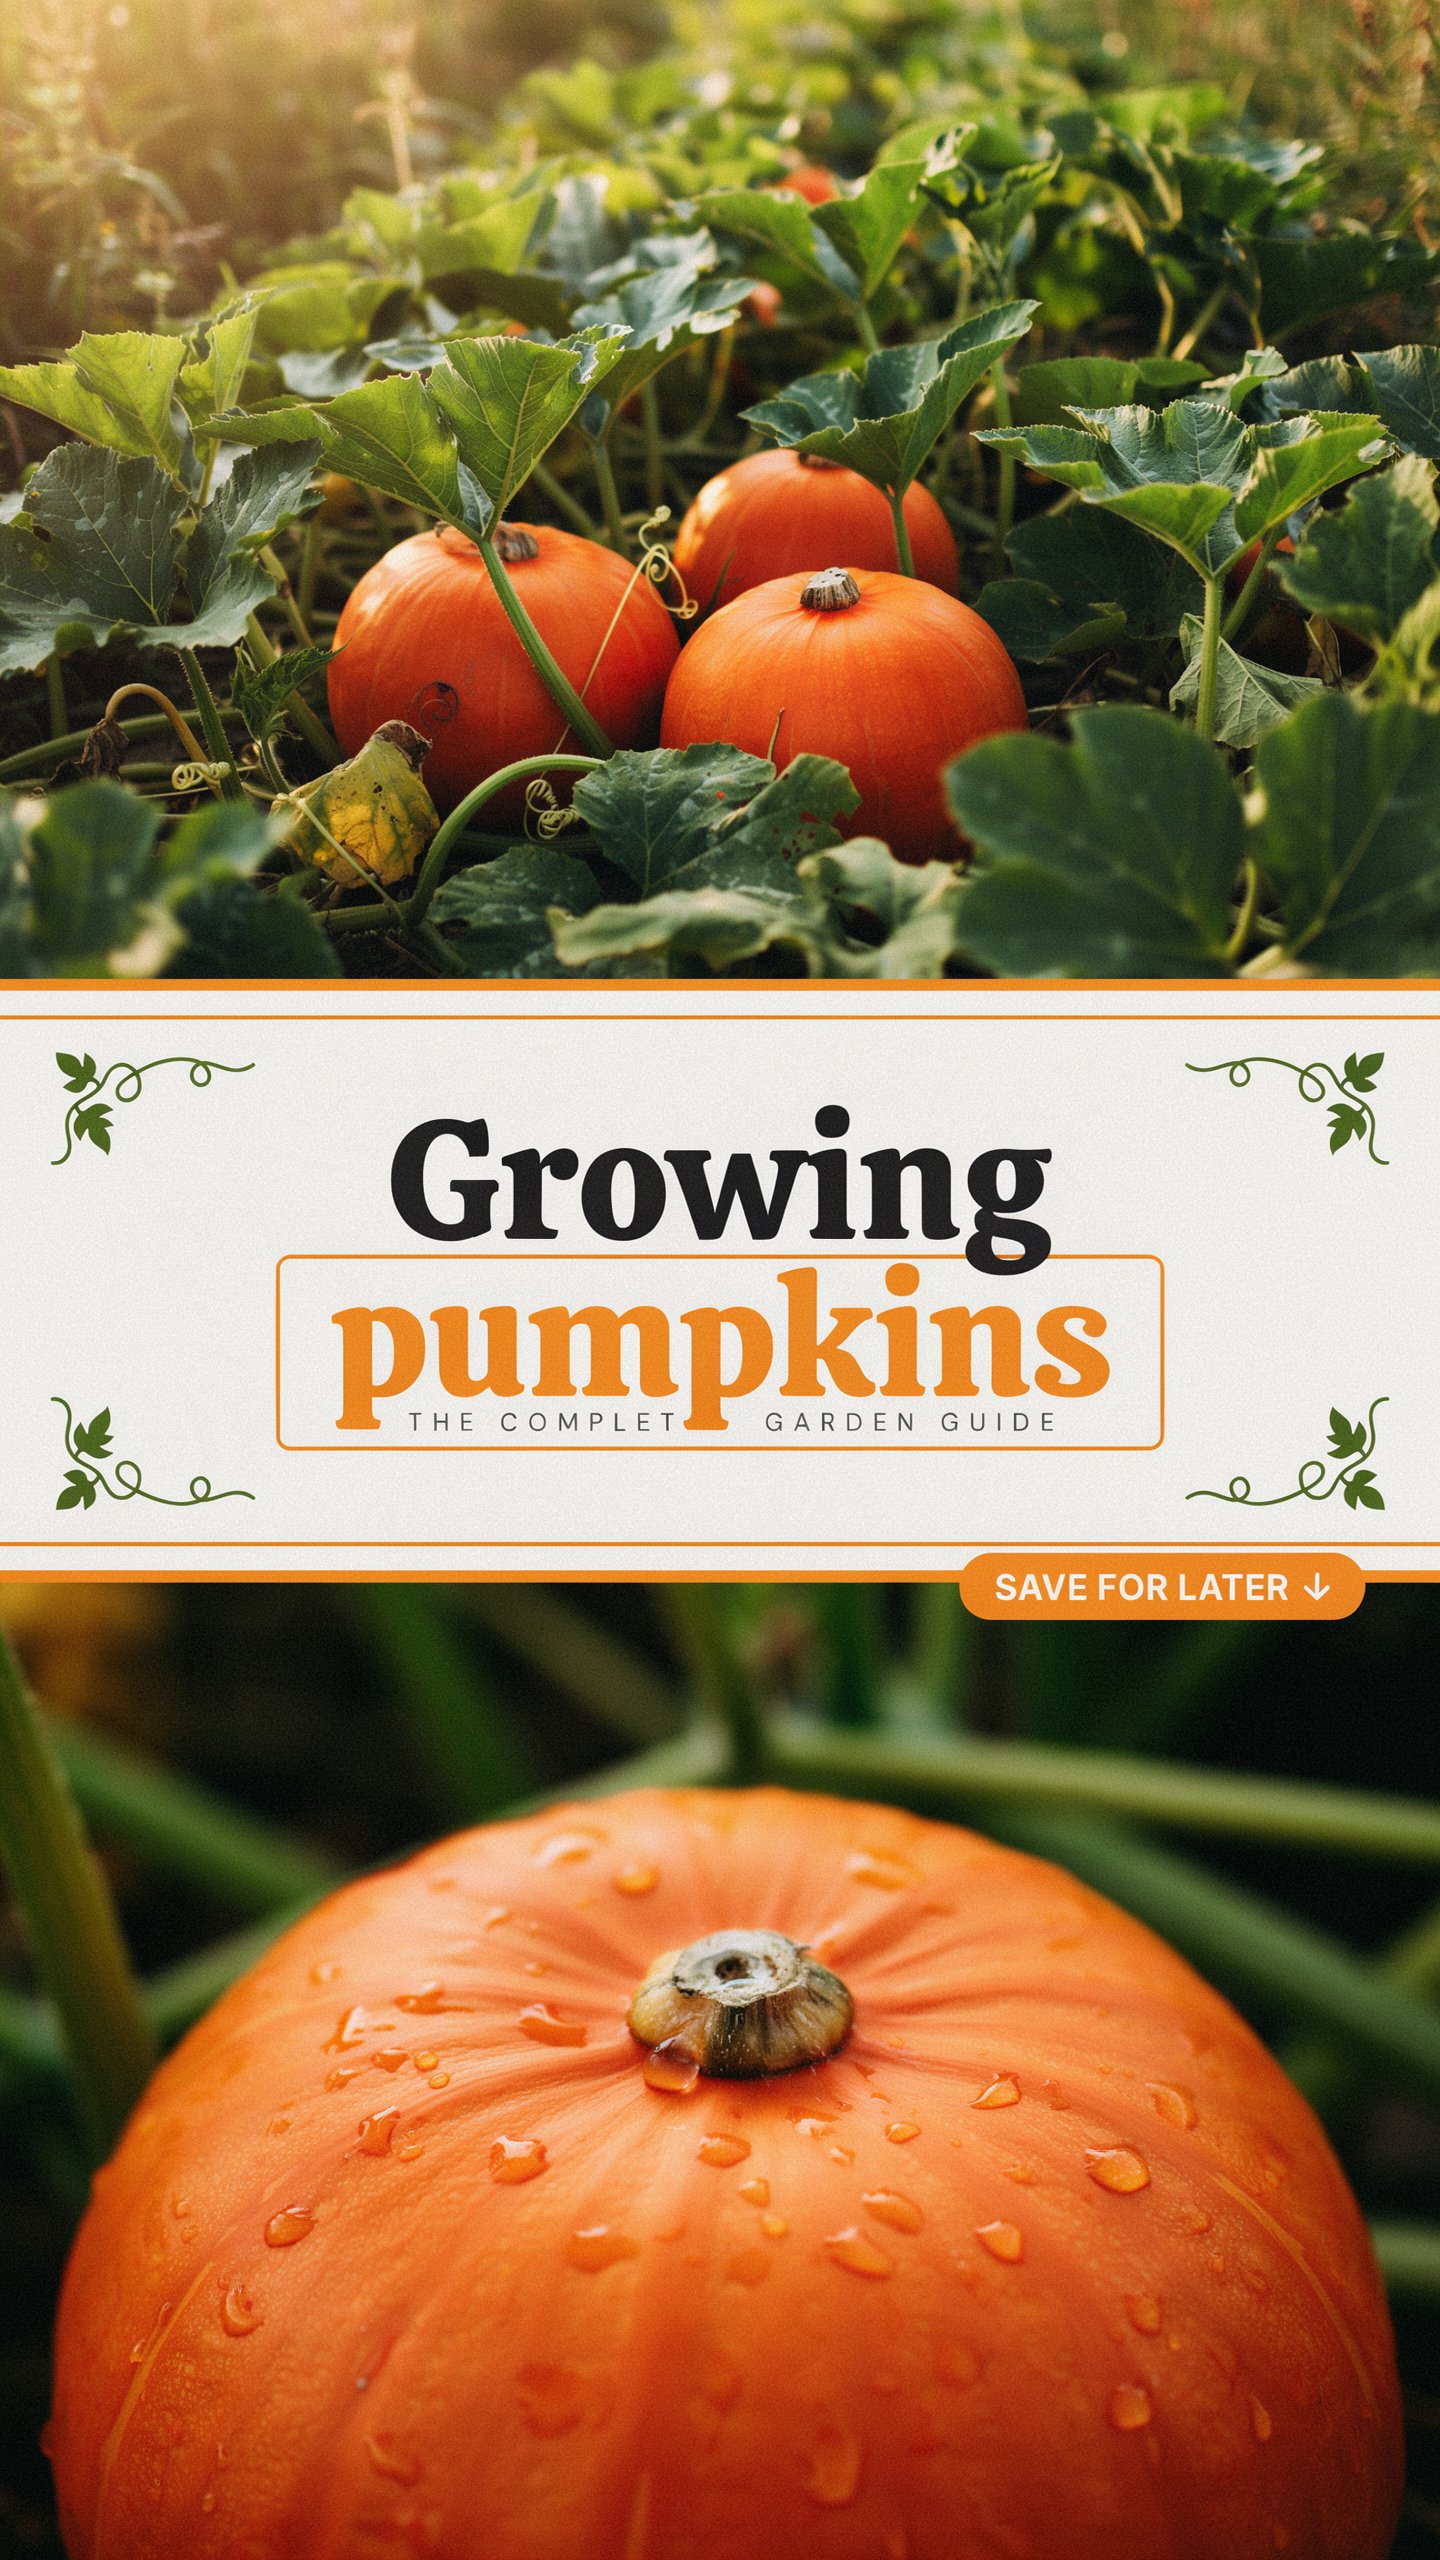

Have you ever dreamed of carving your own homegrown jack-o’-lantern or baking a pie from a pumpkin you nurtured from seed? Growing pumpkins is one of those magical garden projects that feels rewarding from the very first sprout.
Yet many beginners get frustrated when vines sprawl everywhere, fruits rot on the ground, or plants suddenly wilt. The good news? With a bit of know-how, anyone can grow healthy, productive pumpkins—even in a modest backyard.
In this guide, I’ll walk you through everything step by step. Whether you’re working with limited space or dreaming of giant pumpkins, you’ll learn practical tips that actually work in real gardens.
Quick Answer: How to Grow Pumpkins Successfully
Yes, you can grow pumpkins at home. They need full sun (6–8+ hours daily), warm soil (at least 65°F), rich fertile ground, consistent moisture, and plenty of space (20–100+ square feet per plant depending on variety). Most take 75–120 days from seed to harvest. Plant after the last frost, water deeply but infrequently, and mulch to keep fruits clean. Expect 3–5 pumpkins per healthy vine for standard varieties.
Why Growing Pumpkins Is Worth the Effort
Pumpkins aren’t just for Halloween. Fresh ones taste far better than store-bought, and the vines make beautiful, living ground cover that shades out weeds. Kids love watching them grow huge, and you’ll feel proud every time you walk past your patch.
I still remember my first successful harvest—small sugar pumpkins perfect for pies. That taste of victory (and actual pie) hooked me for good.
Choosing the Right Pumpkin Varieties
Not all pumpkins are created equal. Pick varieties based on your goals, space, and growing season.
For pie and cooking, try small, sweet types like Baby Pam, Sugar Pie, or New England Pie. These have dense, flavorful flesh.
For carving and decoration, classic field pumpkins like Connecticut Field or Jack Be Little (mini) work great. Want something fun? Go for white Casper, warty varieties, or blue-gray Jarrahdale.
Space-savers: Bush or semi-bush types like Cherokee Bush or Autumn Gold Bush need less room—perfect for smaller yards.
Big boys: If you have room and patience, try Atlantic Giant for competitions, but know they need 120+ days and heavy feeding.
Beginner tip: Start with 2–3 varieties your first year. Check your seed packet for “days to maturity” and make sure it fits your local frost-free season.
Preparing Your Soil for Growing Pumpkins
Pumpkins are heavy feeders. Skimp on soil prep and you’ll regret it later.
Choose a spot with full sun and good drainage. They hate wet feet. Aim for soil pH between 6.0 and 6.8.
Work in plenty of aged compost or well-rotted manure a few weeks before planting. I like to create raised mounds or hills about 3 feet wide—these warm up faster in spring and improve drainage.
Mix in a balanced organic fertilizer. If your soil is poor, test it first. Adding organic matter every year builds the rich, loose texture pumpkins love.
Common mistake: Planting in compacted or nutrient-poor soil. Your vines may grow, but fruits stay small or fail to develop.
When and How to Plant Pumpkins
Timing is everything. Pumpkins are frost-tender. Wait until soil reaches 65°F and all danger of frost has passed.
In most areas, that means late May to early July. Northern gardeners should start seeds indoors 3–4 weeks before last frost or use black plastic to warm the soil.
Direct sowing method (easiest for beginners):
- Make mounds 4–8 feet apart (closer for bush types).
- Plant 4–6 seeds per mound, 1–2 inches deep.
- Thin to the strongest 2–3 plants once they have true leaves.
Starting indoors: Sow in peat pots to avoid disturbing roots later. Harden off seedlings before transplanting.
Space rows 6–10 feet apart for vining types. Yes, they really need that much room—vines can stretch 10–20 feet!
Caring for Your Growing Pumpkin Plants
Once plants are up, the fun (and work) begins.
Mulch generously. Straw, leaves, or wood chips keep soil moist, suppress weeds, and prevent fruit rot by keeping pumpkins off damp ground.
Watering: Pumpkins are thirsty—about 1–2 inches per week. Water deeply at the base, preferably with drip irrigation or soaker hoses. Avoid wetting leaves to reduce disease. Consistent moisture prevents splitting and bitter fruit.
Fertilizing: Feed with a balanced fertilizer early on, then switch to higher potassium (for fruit development) once vines run and flowers appear. Side-dress with compost tea or fish emulsion every few weeks.
Pollination: Bees do most of the work, but hand-pollinate if you notice few fruits. Pick a male flower (straight stem), remove petals, and dab pollen on female flowers (tiny pumpkin at base).
Training vines: Gently direct vines away from paths or other plants. You can even prune the main vine tip after several fruits set to focus energy.
Common Beginner Mistakes to Avoid When Growing Pumpkins
- Planting too early → cold soil leads to rot.
- Crowding plants → poor air flow and disease.
- Inconsistent watering → cracked fruits or poor flavor.
- Letting weeds take over → competition for nutrients.
- Ignoring pests until it’s too late.
Learn from my early failures: one year I planted in shade. The vines grew leggy and produced almost nothing. Lesson learned—sun is non-negotiable.
Dealing with Pests and Diseases
Pumpkins have enemies, but you can stay ahead.
Common pests:
- Squash bugs: Look for gray-brown adults and clusters of eggs on leaf undersides. Hand-pick or use neem.
- Cucumber beetles: Striped or spotted; they spread bacterial wilt. Use row covers early.
- Squash vine borers: Wilting plants with sawdust-like frass at base. Prevent with row covers or inject Bt.
Diseases:
- Powdery mildew: White powder on leaves. Improve air flow and use resistant varieties.
- Downy mildew and others: Rotate crops yearly and avoid overhead watering.
Troubleshooting quick tips:
- Yellowing leaves? Could be nitrogen deficiency or overwatering.
- No fruits? Check pollination or too much nitrogen (all leaves, no flowers).
- Small fruits? Inconsistent water or nutrient shortage.
Inspect plants weekly. Early action saves the harvest.
Harvesting and Storing Your Pumpkins
The exciting part! Pumpkins are ready when:
- Skin is hard (can’t pierce with thumbnail)
- Color is deep and even
- Stem is dry and corky
- The vine starts dying back
Cut with pruners, leaving 3–4 inches of stem. Don’t carry by the stem—it can break and cause rot.
Cure in a warm, dry spot for 7–10 days if storing long-term. Then move to a cool (50–55°F), dark place. Many varieties last 2–6 months.
Save seeds from your best fruits for next year!
Creative Ways to Use Your Harvest
Beyond carving and pie, roast seeds for snacks, make pumpkin butter, or puree for soups and breads. Even the flowers are edible. Growing pumpkins opens up a whole season of kitchen creativity.
FAQ: Growing Pumpkins
How long does it take to grow pumpkins? Most varieties need 75–120 days. Check your seed packet and count backward from your desired harvest date.
Can I grow pumpkins in containers? Yes, but choose compact bush varieties and large pots (at least 20 gallons). They still need full sun and consistent watering.
Why are my pumpkin leaves turning yellow? Common causes include nutrient deficiency, over/under watering, or pests/disease. Check soil moisture and inspect for bugs.
Do pumpkins need a lot of water? They do—consistent deep watering is key, especially when fruits are forming. Mulch helps retain moisture.
Can I grow pumpkins in partial shade? Full sun is best. Less sun means fewer, smaller fruits and more disease problems.
How many pumpkins does one plant produce? Usually 3–8 depending on variety, conditions, and care. Giants often produce fewer.
What’s the best fertilizer for pumpkins? Start with balanced, then emphasize potassium/phosphorus for fruiting. Organic options like compost and fish emulsion work wonderfully.
Final Thoughts on Growing Pumpkins
There’s something deeply satisfying about watching those bright orange orbs swell under your care. Growing pumpkins connects you to the seasons, teaches patience, and delivers delicious results.
Don’t worry if your first attempt isn’t perfect—gardening is all about learning and improving each year. Start small, enjoy the process, and celebrate every harvest, big or small.
Ready to plant your own patch? Grab some seeds, prepare that sunny spot, and get growing. I’d love to hear how your pumpkins turn out—drop a comment with your favorite variety or biggest lesson learned.
Happy gardening! Your future pumpkin pies (and jack-o’-lanterns) are waiting.