
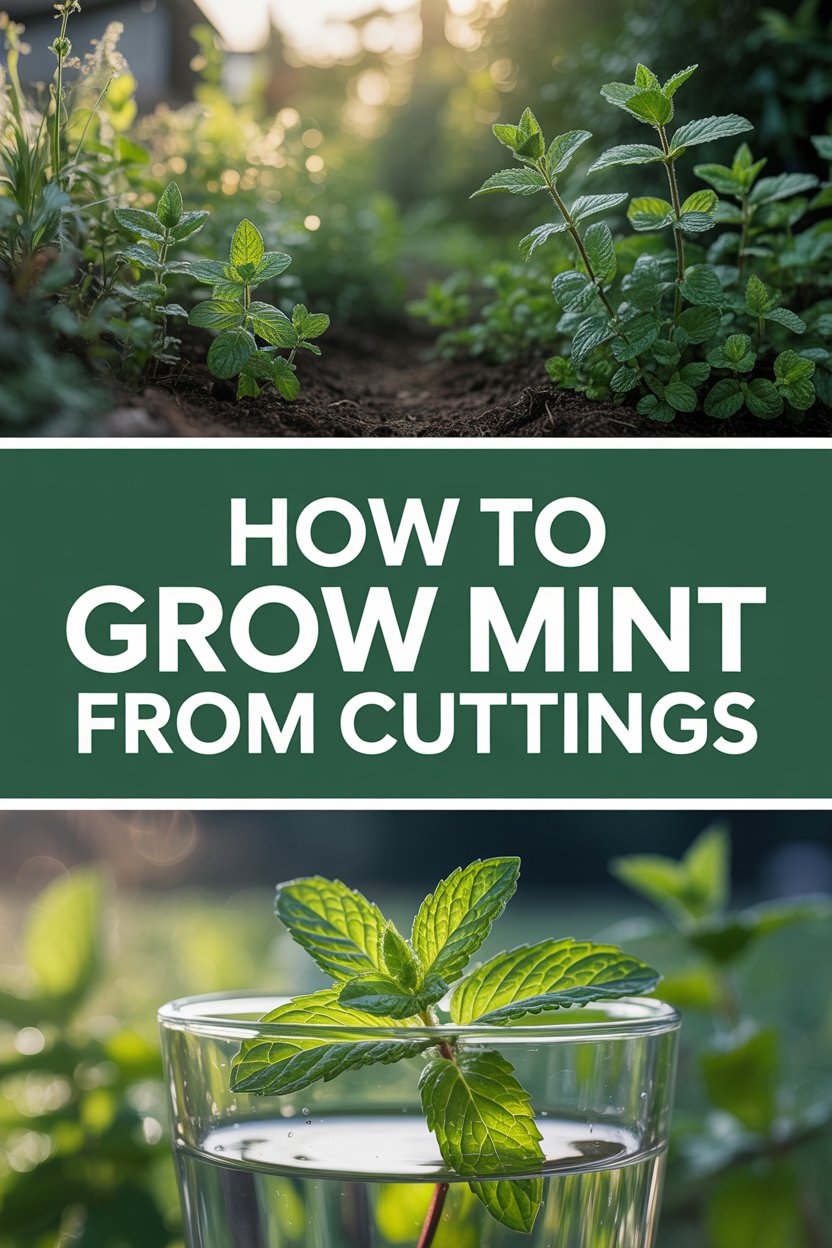
Imagine stepping into your kitchen, snipping a few fresh leaves from your own mint plant, and tossing them into a refreshing glass of lemonade or mojito. No more buying wilted bunches from the store that go bad in days. Growing mint from cuttings is one of the easiest and most rewarding ways to start your herb garden, even if you’ve never grown anything before.
If you’ve struggled with plants dying on you or felt overwhelmed by complicated gardening advice, this guide is for you. Mint is incredibly forgiving, grows fast, and you can have a thriving plant in just a few weeks. Let’s dive in and get your hands dirty—in the best way possible.
Quick Answer: How to Grow Mint from Cuttings
You can grow mint from cuttings in water or soil. Take a 4-6 inch healthy stem, cut just below a leaf node, remove lower leaves, and place in water (change every few days) or moist soil. Roots typically appear in 1-2 weeks. Transplant to pots or garden once roots are 1-2 inches long. Keep soil moist, provide bright indirect light, and watch it explode with growth.
Why Growing Mint from Cuttings Beats Other Methods
Mint is a vigorous perennial herb that spreads enthusiastically—sometimes too enthusiastically. Propagating from cuttings gives you identical plants to the parent, with the same delicious flavor and aroma. Unlike seeds (which can be unreliable for hybrids like peppermint), cuttings are fast and nearly foolproof.
I’ve grown mint for years in pots on my balcony and in the garden. One cutting turned into a lush plant that supplied my family all summer. It’s perfect for beginners because mint roots readily and recovers quickly from mistakes.
Best Time to Take Mint Cuttings
Spring and early summer (March to June) are ideal when the plant is actively growing and full of energy. You can propagate year-round indoors, but warmer months speed up rooting. Avoid taking cuttings from flowering stems, as they focus energy on blooms instead of roots.
In my experience, cuttings taken in late spring root fastest—often within a week.
Choosing the Right Mint Variety for Your Space
Mint comes in many flavors: spearmint (classic for cooking), peppermint (strong and cooling), chocolate mint, pineapple mint, apple mint, and more. All propagate the same way, but choose based on use. Spearmint is great for teas and salads; peppermint for desserts.
Start with one variety to keep things simple. You can always expand later since mint multiplies so easily.
Materials You’ll Need
- Sharp, clean scissors or pruning shears
- Healthy mint plant (your own, a friend’s, or even fresh supermarket stems sometimes work)
- Clear glass jar for water method
- Small pots with drainage holes
- Well-draining potting mix (or 50/50 compost and perlite)
- Optional: rooting hormone powder
- Spray bottle for misting
Sterilize tools with rubbing alcohol to prevent disease.
Step-by-Step: How to Take Mint Cuttings
- Select a healthy stem. Look for vibrant green, non-woody stems about 4-6 inches long with several sets of leaves. Avoid any with pests, yellowing, or flowers.
- Make the cut. Snip just below a leaf node (the bump where leaves emerge). This is where roots will form most readily.
- Prepare the cutting. Gently remove the lower leaves, leaving 2-4 leaves at the top. This prevents rot in water and focuses energy on rooting.
- Optional boost. Dip the cut end in rooting hormone for faster, more reliable results, though mint often roots without it.
That’s it—super simple!
Method 1: Rooting Mint Cuttings in Water (Easiest for Beginners)
This is my go-to method because you can watch the magic happen.
- Fill a clear jar with room-temperature water (filtered or dechlorinated is best—let tap water sit out overnight).
- Place the cutting so the bottom 2 inches are submerged, but leaves stay above water.
- Set in bright, indirect light (a sunny windowsill works great, but avoid scorching direct sun).
- Change the water every 2-3 days to keep it fresh and prevent bacteria.
Roots usually appear in 7-14 days. Once they’re 1-2 inches long and healthy, it’s time to transplant.
I love this stage—seeing those white roots emerge feels like a small victory every time.
Method 2: Rooting Mint Cuttings Directly in Soil
Some gardeners prefer this for stronger roots from the start.
- Fill a small pot with moist, well-draining potting mix.
- Make a hole with a pencil and insert the cutting about 2 inches deep.
- Firm the soil gently around the stem.
- Cover with a plastic bag or dome for humidity (vent occasionally to prevent mold).
- Keep soil consistently moist but not soggy.
This method takes a bit longer to show roots but results in hardier plants.
Transplanting Your Rooted Mint Cuttings
Once roots are established:
- Choose a pot at least 6-8 inches wide with good drainage (mint loves to spread).
- Use rich, moist potting soil mixed with compost.
- Plant at the same depth, water thoroughly, and place in partial shade for a few days to acclimate.
- Gradually introduce more light.
For garden planting, choose a spot with morning sun and afternoon shade. Contain it in a pot sunk into the ground to prevent it from taking over.
Caring for Your New Mint Plant
Mint thrives with simple care:
- Watering: Keep soil consistently moist. Water when the top inch feels dry. Avoid waterlogging, which causes rot.
- Light: 4-6 hours of sunlight daily. Too much shade makes it leggy; too much direct sun can scorch leaves.
- Soil: Rich, well-draining, slightly acidic to neutral.
- Fertilizer: A balanced liquid fertilizer every 4-6 weeks during growing season.
- Pruning: Pinch tops regularly to encourage bushy growth and prevent flowering. Harvest often!
In containers, repot every year or so as it fills out.
Common Beginner Mistakes to Avoid
- Letting cuttings dry out or leaves sit in water.
- Using dirty tools or old water, leading to rot.
- Planting in poor-draining soil.
- Forgetting to contain mint—it spreads via runners and can invade gardens.
- Over-fertilizing, which reduces flavor.
I’ve made most of these myself over the years. Learning from them makes the process smoother next time.
Troubleshooting Problems with Mint Cuttings
No roots after 2 weeks? Check light, water freshness, and temperature. Warmer conditions (around 70°F) help. Take fresh cuttings.
Wilting or yellow leaves? Usually underwatering or poor light. Adjust and mist leaves.
Rotting stems? Too much moisture or submerged leaves. Trim affected parts and start fresh if needed.
Pests like aphids? Rinse with water or use insecticidal soap. Mint is generally tough but watch new growth.
Leggy growth? More light or regular pinching.
Most issues are easy to fix with mint’s resilience.
Growing Mint in Pots vs. Garden
Pots are ideal for controlling spread and moving plants indoors for winter in colder climates. Use large containers to allow room for roots. Garden beds work if you want abundance, but use barriers like buried pots or root barriers.
I keep most of mine potted on the patio for easy access.
Harvesting and Using Your Homegrown Mint
Start harvesting once the plant is 6+ inches tall. Cut stems just above a leaf pair for bushier regrowth. Use fresh in teas, salads, sauces, or cocktails. Dry excess or freeze in ice cubes for later.
The flavor of homegrown mint is noticeably brighter and more aromatic.
Overwintering Mint Plants
Mint is hardy but benefits from protection. In pots, bring indoors to a sunny spot or cool greenhouse. Cut back in fall and reduce watering. It will die back and regrow in spring.
Companion Planting and Creative Uses
Mint pairs well with cabbage, tomatoes, and peas as a pest deterrent. Use it in borders or as a fragrant ground cover in contained areas. Beyond cooking, try mint in homemade skincare or as a natural air freshener.
Real-World Tips from My Garden
One summer, I started five cuttings and ended up with enough mint to share with neighbors. The key is consistency in moisture and light early on. Don’t overthink it—mint wants to grow!
Experiment with varieties. Chocolate mint in chocolate desserts is a game-changer.
FAQ: How to Grow Mint from Cuttings
How long does it take for mint cuttings to root? Usually 7-14 days in water, slightly longer in soil. Factors like temperature and freshness affect speed.
Can I grow mint from supermarket cuttings? Often yes! Fresh, healthy-looking stems from the store can root well if treated like regular cuttings.
Why is my mint cutting rotting? Common causes: leaves in water, dirty tools, or stagnant water. Change water frequently and remove lower leaves.
Does mint need full sun? It prefers 4-6 hours of sun but tolerates partial shade. Too much intense sun can stress young plants.
How do I stop mint from spreading? Grow in containers, use root barriers, or harvest regularly. Avoid planting directly in open ground unless you want a mint patch.
Can I propagate mint in winter? Yes, indoors with good light. Growth will be slower, but it’s doable.
How often should I harvest mint? Regularly! Pinching promotes bushiness and keeps plants productive.
Final Thoughts: Your Mint Journey Starts Now
There’s something deeply satisfying about turning a simple cutting into a bountiful herb plant that flavors your meals for seasons to come. Growing mint from cuttings is accessible, forgiving, and incredibly productive. You’ll wonder why you didn’t start sooner.
Grab those scissors, find a healthy stem, and give it a try today. Share your new plants with friends or family—it’s a wonderful gift that keeps giving. Drop a comment below with your results or favorite mint recipes. Happy gardening—I can’t wait to hear how your mint thrives!