
Ever looked at your overflowing kitchen bin and wondered if there’s a better way? That banana peel, coffee grounds, and pile of leaves could be the secret to a thriving garden instead of landfill waste.
If you’re new to gardening or just want to live more sustainably, learning how to compost for beginners is one of the easiest and most rewarding steps you can take. It feels like magic—turning trash into nutrient-rich soil—but it’s actually simple science anyone can do.
I’ve been composting for years in a small backyard, and I still get excited every time I dig into that dark, earthy gold. In this guide, I’ll walk you through everything you need to know, step by step, without the overwhelm.
Quick Answer: How to Compost for Beginners
Composting is the natural process of breaking down organic matter into nutrient-rich soil. For beginners, start with a simple backyard pile or bin. Layer “green” nitrogen-rich materials (veggie scraps, grass clippings) with “brown” carbon-rich materials (leaves, cardboard). Keep it moist like a wrung-out sponge, turn it occasionally, and wait 3–12 months. The result? Free fertilizer for your plants.
Why Bother Composting? The Real Benefits
Composting isn’t just trendy—it actually makes a difference.
It cuts down household waste significantly. In many homes, food scraps make up a huge chunk of what gets thrown away. Diverting them means less methane in landfills.
Your garden will thank you. Compost improves soil structure, retains moisture, and feeds plants with natural nutrients. I’ve seen scraggly tomato plants turn into heavy producers after just one season of homemade compost.
It saves money. No more buying expensive bags of soil amendments or fertilizers. Once you get going, it’s basically free.
And honestly? It feels good. There’s something deeply satisfying about closing the loop in your own little ecosystem.
Understanding the Basics: Greens, Browns, and Balance
Successful composting comes down to the right mix of materials.
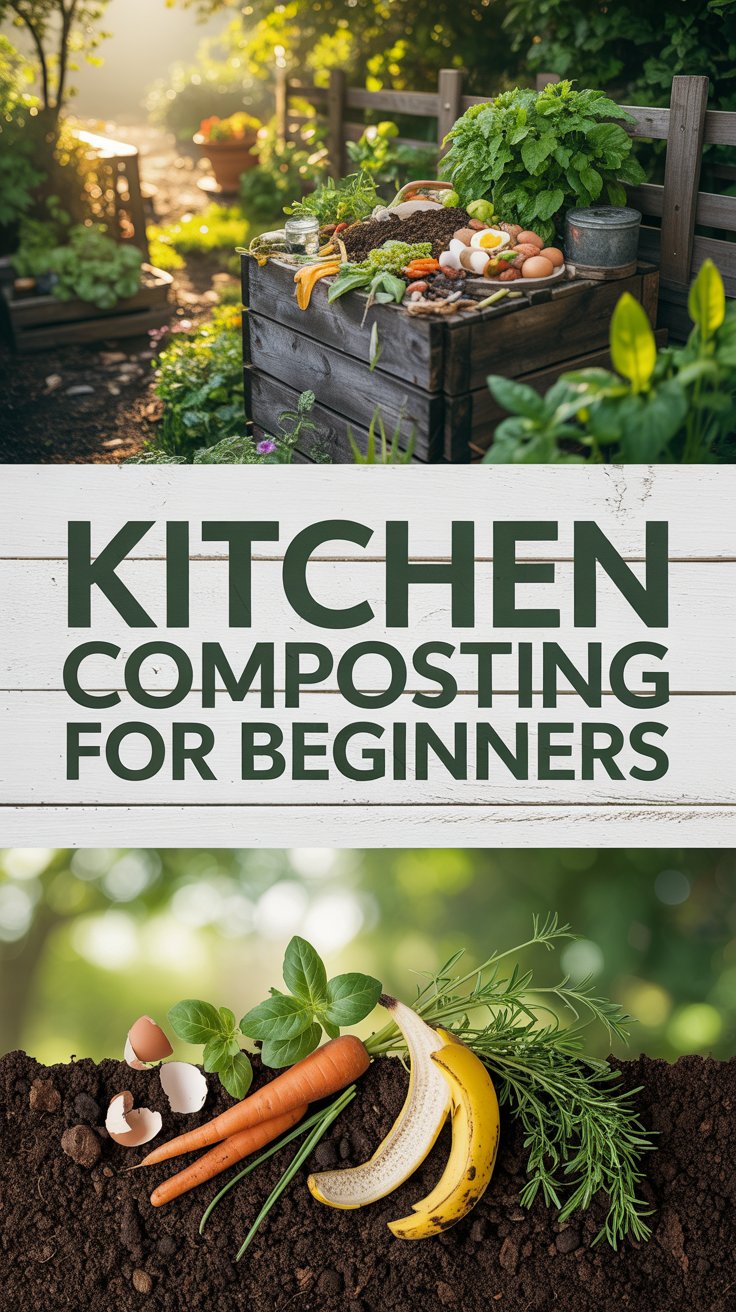
Green materials are rich in nitrogen. Think fruit and vegetable scraps, coffee grounds, fresh grass clippings, and plant trimmings. They provide the protein that microbes need to multiply.
Brown materials supply carbon. Dry leaves, shredded paper, cardboard, straw, and small twigs work great. They give structure and prevent the pile from getting too soggy or smelly.
Aim for roughly 2–3 parts browns to 1 part greens by volume. Don’t stress about perfect ratios at first—just avoid big clumps of one type.
What You Can and Cannot Compost
This is where beginners often get tripped up, so let’s keep it clear.
Yes, compost these:
- Fruit and vegetable peels
- Coffee grounds and paper filters
- Tea bags (remove staples)
- Eggshells (crushed)
- Yard waste like leaves and grass
- Shredded newspaper or cardboard
- Houseplant trimmings
No, skip these:
- Meat, fish, or dairy (attracts pests)
- Oily foods or greasy scraps
- Pet waste from dogs or cats
- Diseased plants
- Weeds that have gone to seed (unless your pile gets very hot)
- Treated wood or glossy magazines
A good rule I follow: if it grew in the ground and isn’t oily or from an animal, it’s usually fair game.
Choosing Your Composting Method
You don’t need fancy equipment to start.
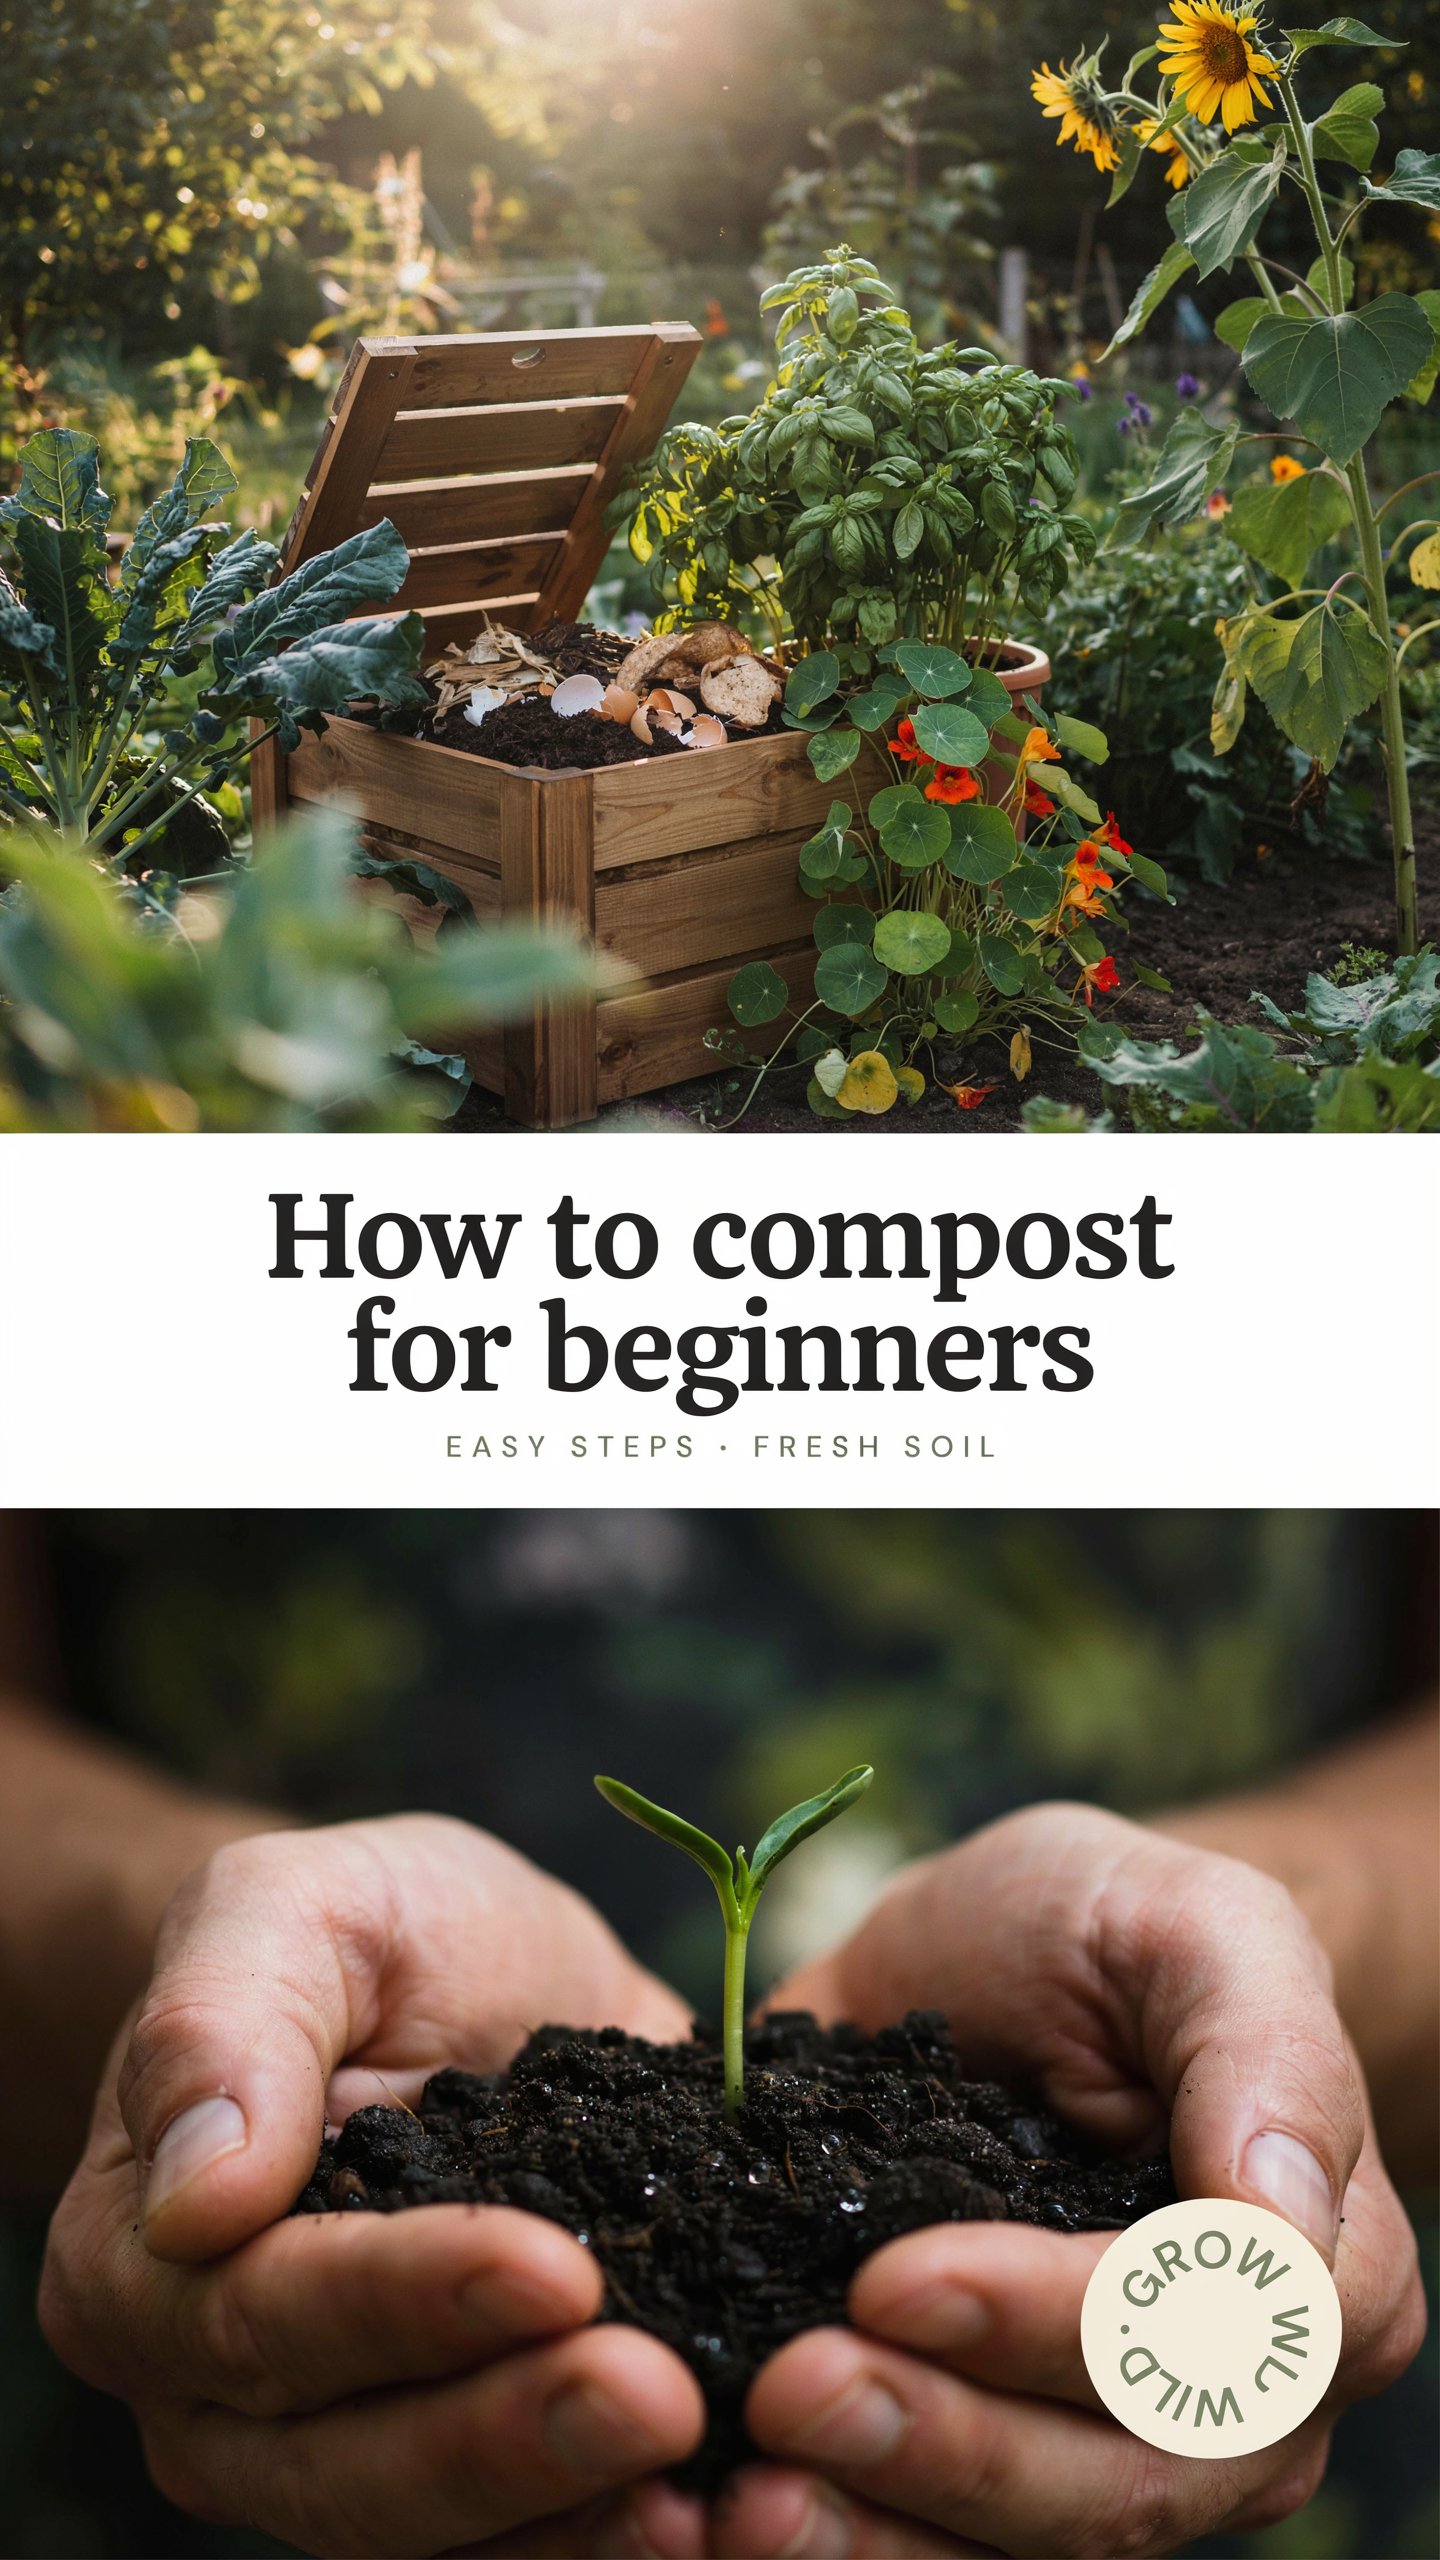
Backyard Pile or Bin The simplest for beginners. A basic compost bin keeps things tidy and deters animals. Tumbling bins make turning effortless.
Trench Composting Dig a hole or trench in the garden, bury scraps, and cover with soil. Perfect for lazy gardeners.
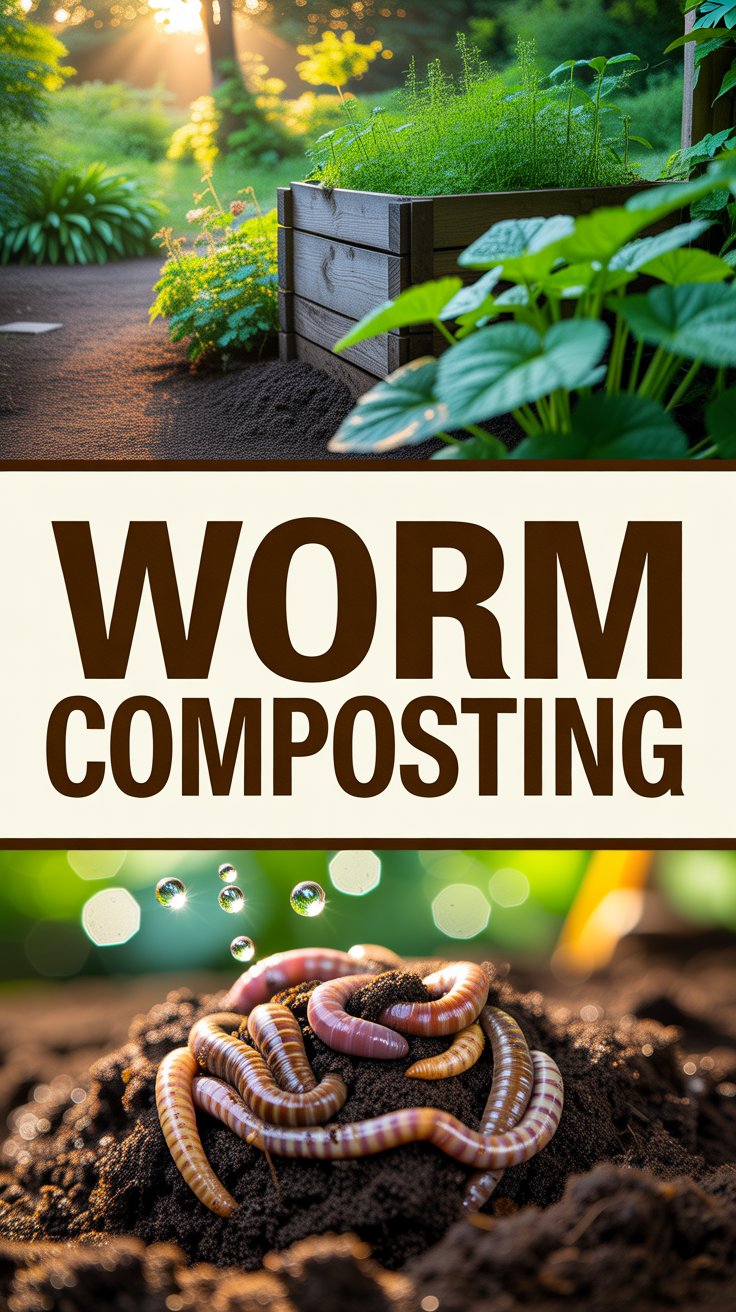
Vermicomposting (Worm Bin) Use red wigglers indoors or on a balcony. Worms turn scraps into incredible castings super fast. Great for apartments.
Bokashi A fermented method using bran and a sealed bucket. Good for meat and dairy in small amounts, though it’s a bit more advanced.
For most beginners, I recommend starting with a simple outdoor bin.
Step-by-Step: How to Start Composting Today
Ready to begin? Here’s exactly what to do.
- Pick a spot. Choose a level area with good drainage, partial shade, and easy access. Near the garden but not right against the house is ideal.
- Gather materials. Collect a good base of browns first—dry leaves or shredded cardboard.
- Build the base. Start with a 4–6 inch layer of browns for aeration.
- Add layers. Alternate greens and browns as you go. Chop larger pieces to speed things up.
- Moisten. The pile should feel like a damp sponge. Not dripping wet, not dry.
- Cover it. Top with a layer of browns or a tarp to retain moisture and heat.
That’s it. Your compost pile is alive!
Maintaining Your Compost Pile
Composting isn’t set-it-and-forget-it, but it’s low effort.
Turn the pile every 1–2 weeks with a pitchfork or shovel. This adds oxygen and speeds decomposition.
Monitor moisture. In dry weather, add water. In rainy seasons, cover it.
Temperature matters. A healthy pile heats up to 130–160°F in the center. If it doesn’t, it might need more greens or turning.
Patience is key. Hot piles finish faster; cold piles take longer but still work.
Troubleshooting Common Problems
Even experienced composters run into issues. Here’s how to fix them:
It smells bad. Usually too many greens or too wet. Add more browns and turn it well.
It’s not breaking down. Too dry, too many browns, or pieces too big. Moisten and chop materials.
Pests or animals. Avoid meat/dairy, bury food scraps deeper, or use a closed bin.
Too wet and slimy. Add dry browns generously and turn.
Nothing happening in winter. That’s normal. Activity slows but resumes in spring.
I once had a pile turn into a stinky mess after a big rain. Adding a thick layer of leaves and turning it saved the day.
How Long Does It Take?
Expect 3–6 months for usable compost in warm weather with regular turning. Cooler climates or cold piles can take 9–12 months or longer.
You’ll know it’s ready when it looks like dark, crumbly soil and smells earthy, not rotten. No recognizable food scraps left.
Using Your Finished Compost
This is the fun part!
Mix it into garden beds before planting. Use as a top dressing around established plants. Blend with potting soil for containers. Make compost tea for a liquid boost.
A 1–2 inch layer worked into the top 6 inches of soil works wonders. Your plants will show their appreciation with stronger growth and better yields.
Advanced Tips from a Long-Time Composter
Once you’re comfortable, try these:
- Save up scraps in a countertop bin with a lid.
- Shred leaves in the fall for a huge brown supply.
- Use a compost thermometer to geek out on temperatures.
- Add finished compost to your lawn for a natural fertilizer.
- Share extras with neighbors—compost makes great gifts.
I like to keep two piles going: one “working” and one “finishing.” It keeps the cycle flowing.
Common Beginner Mistakes to Avoid
- Adding everything at once instead of layering.
- Letting it dry out completely.
- Turning too often or not enough.
- Expecting perfection right away.
- Giving up too soon.
Remember, compost happens even if you’re not perfect. Nature is forgiving.
How to Compost for Beginners in Small Spaces
No yard? No problem.
Balcony bins, worm farms, or even bokashi under the sink work great. Some cities offer community composting drop-offs if home composting isn’t feasible.
Composting Through the Seasons
Spring: Kickstart new piles. Summer: Keep moist and turn more often. Fall: Stock up on leaves. Winter: Collect scraps indoors and add when possible.
Each season brings its own rhythm.
FAQ: How to Compost for Beginners
How do I start composting at home with no experience? Begin small with a bin or pile. Focus on balancing greens and browns, keep it moist, and turn occasionally. Start today with whatever scraps you have.
Can I compost in an apartment? Yes! Worm bins or bokashi systems are compact and odor-free when managed well. Some apartments even allow small outdoor bins on balconies.
Why does my compost smell? Too much moisture or nitrogen-rich materials without enough carbon. Add browns, turn it, and improve airflow.
How long before I can use my compost? Usually 3–12 months depending on method, climate, and maintenance. Test a small amount first if unsure.
Is it okay to add eggshells and coffee grounds? Absolutely. Crushed eggshells add calcium, and coffee grounds provide nitrogen. Both are excellent in moderation.
What if I don’t turn my compost? It will still decompose, just more slowly. Passive piles work fine if you’re patient.
Can I compost weeds? Yes, but make sure the pile heats up enough to kill seeds, or dry them out first in the sun.
Ready to Get Your Hands Dirty?
There’s something special about growing food in soil you helped create. Composting connects you to the cycle of life in the most practical way.
You don’t need to be an expert or have a huge yard. Just start small, stay consistent, and watch the magic happen.
Grab a bin or pick a corner of your yard today. Your future garden (and the planet) will thank you.
What’s stopping you? Drop a comment below with your first compost experiment—I’d love to hear how it goes!
Happy composting!