Imagine walking into your backyard and scooping up rich, dark soil that smells like a forest floor — all made from things you used to throw away. Sounds pretty good, right?
If you’re staring at overflowing kitchen scraps or a pile of yard waste wondering where it all goes, you’re not alone. Many beginners feel overwhelmed by the idea of composting. Will it smell? Attract pests? Take forever? The truth is, starting composting is one of the easiest, most rewarding things you can do for your garden, your wallet, and the planet.
In this guide, I’ll walk you through everything step by step. No fancy equipment required. By the end, you’ll have a system that works for your space and lifestyle.
Quick Answer: How to Start Composting for Beginners
Composting is the natural process of breaking down organic materials into nutrient-rich soil. For beginners, the simplest way is a backyard pile or bin using “greens” (nitrogen-rich scraps like veggie peels) and “browns” (carbon-rich items like dry leaves) in a roughly 1:3 ratio. Keep it moist like a wrung-out sponge, turn it occasionally, and in a few months you’ll have “black gold” for your plants. It’s low-cost, reduces waste, and improves soil health dramatically.
Why Bother Composting? The Real Benefits You’ll Notice
Composting isn’t just trendy — it’s practical. Households throw away a ton of food scraps that could become free fertilizer instead of landfill methane.
Your garden gets healthier soil that holds water better, fights off diseases, and grows stronger plants. You’ll spend less on store-bought amendments. Plus, there’s that quiet satisfaction of closing the loop: your banana peel today becomes tomorrow’s tomato plant.
I’ve seen skeptical friends turn into composting evangelists after their first harvest. The transformation in your garden is noticeable — plants perk up, flowers bloom brighter, and veggies taste better.
Understanding the Magic: Greens, Browns, Air, and Water
Compost happens when microbes, fungi, and tiny critters break down organic matter. They need four things:
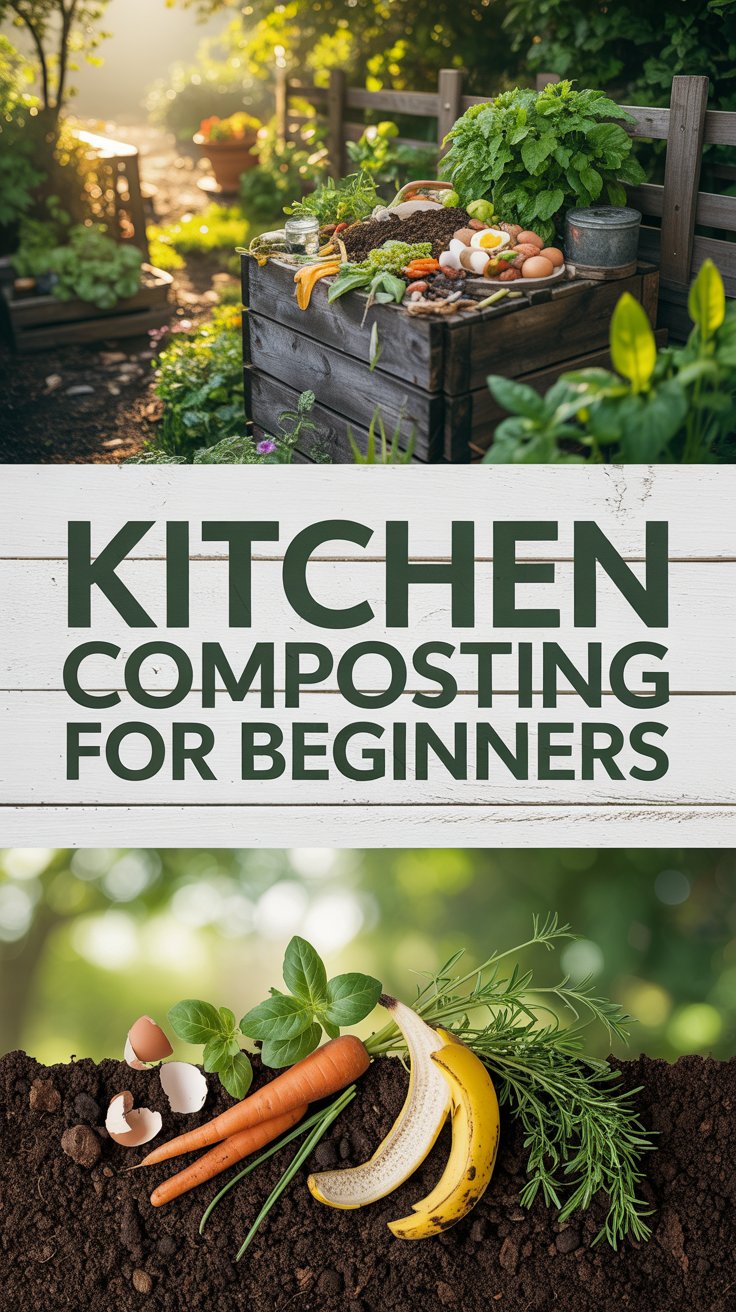
- Greens (nitrogen sources): Kitchen scraps, grass clippings, coffee grounds, tea bags, fresh plant trimmings. These are moist and provide protein for the microbes.
- Browns (carbon sources): Dry leaves, shredded cardboard, newspaper, straw, wood chips, paper towel rolls. These give energy and structure.
Aim for about 1 part greens to 2–3 parts browns by volume. Too many greens and it gets slimy and smelly. Too many browns and it decomposes slowly.
Air and water keep everything balanced. The pile should feel like a damp sponge — not dripping wet, not bone dry.
Choosing Your Composting Method: Find What Fits Your Life
Don’t overthink this. Start simple.
Backyard Pile or Bin: Easiest for most beginners. Use a simple wire enclosure, wooden pallet bin, or buy an affordable tumbler or stationary bin. Place it on bare soil in partial shade for drainage and access by worms.
Tumbler: Great if you want less turning effort and pest protection. Spin it every few days.
Trench or In-Ground: Bury scraps directly in garden beds. Super low-maintenance but slower.
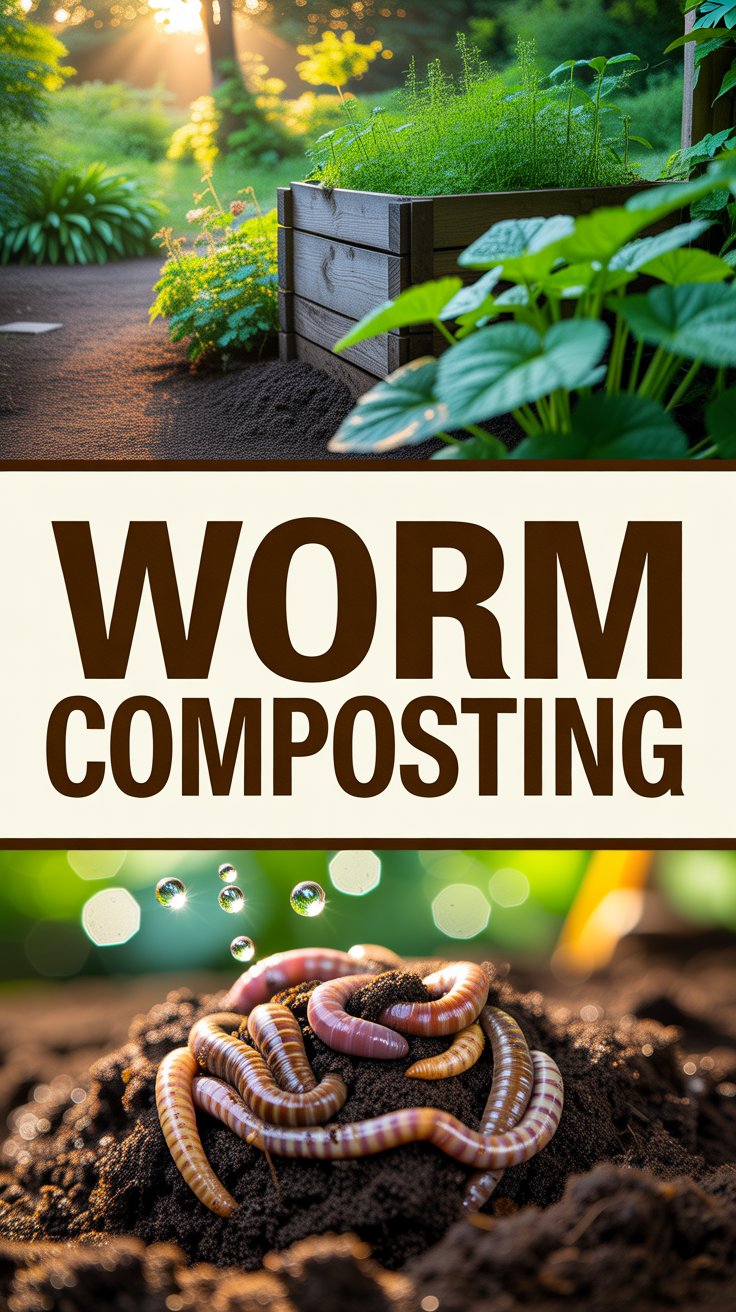
Vermicomposting (Worm Bin): Perfect for apartments or small spaces. Red wigglers eat scraps indoors or on a balcony.
Bokashi: Ferments scraps in a bucket with bran. Good for meat and dairy in limited amounts (then bury or add to outdoor pile).
Pick one that matches your space and commitment level. You can always expand later.
Step-by-Step: How to Start Your First Compost Pile
- Pick a Spot Choose a level, well-drained area with partial shade. Convenient to the kitchen but away from your house and neighbors’ windows. Leave room to turn the pile.
- Gather Supplies
- Kitchen collection pail (with lid).
- Browns stored nearby (leaves, shredded paper).
- Pitchfork or shovel.
- Optional: Thermometer, hardware cloth for base (pest protection).
- Build the Base Start with 4–6 inches of bulky browns like twigs or straw for airflow and drainage.
- Layer Like Lasagna Add greens, then cover generously with browns. Chop larger pieces for faster breakdown. Keep layering until your pile is 3 feet high and wide.
- Moisten Water as you go so it’s damp but not soggy.
- Start Turning After a few days, turn the pile to add oxygen. For hot composting, aim to turn weekly at first.
Your pile will heat up as microbes get to work — that’s a great sign!
What to Compost (and What to Skip)
Yes, Add These:
- Fruit and veggie scraps
- Coffee grounds and filters
- Eggshells (crush them)
- Tea bags (remove staples)
- Yard waste: leaves, grass, plant trimmings
- Shredded paper and cardboard
- Small amounts of hair or pet fur
Skip These:
- Meat, fish, dairy, bones, oils (attract pests, smell bad)
- Diseased plants
- Weeds with seeds (unless hot composting)
- Pet waste (dog/cat)
- Treated wood or glossy paper
Pro tip: Freeze kitchen scraps in a container before adding to reduce smells and fruit flies.
Daily and Weekly Maintenance: Keeping It Healthy
Make it a habit. Empty your kitchen pail regularly and always bury greens under browns.
Check moisture weekly — squeeze a handful. One or two drops? Perfect. Add water if dry; mix in browns if wet.
Turn the pile every 1–2 weeks for faster results. In hot composting, the center can reach 130–160°F, killing weed seeds and speeding things up.
Observe: A healthy pile smells earthy, not rotten. It shrinks over time as materials break down.
Common Beginner Mistakes (and How to Avoid Them)
- Too many greens: Leads to slime and stink. Fix: Add more browns and turn.
- Pile too small: Won’t heat up. Aim for at least 3x3x3 feet.
- Forgetting to turn: Becomes anaerobic. Turn more often.
- Adding the wrong stuff: Meat or dairy invites rodents.
- Letting it dry out: Microbes go dormant.
- Impatience: Cold composting takes 6–12 months. That’s okay!
Start small and learn as you go. Perfection isn’t the goal — progress is.
Troubleshooting: When Things Go Wrong
Smelly Pile (Rotten Eggs): Too wet or not enough air. Turn it, add browns, and fluff it up.
Ammonia Smell: Too much nitrogen. Add carbon-rich browns.
Not Heating Up: Too dry, too small, or lacking nitrogen. Add water, greens, or combine piles.
Pests: Cover food scraps well. Use a bin with a tight lid or hardware cloth base. Avoid meat.
Fruit Flies: Freeze scraps or bury deeper under browns.
Slow Decomposition: Chop materials smaller, ensure balance, and turn regularly.
Most issues fix with turning, balancing materials, or adjusting moisture. Don’t panic — nature is forgiving.
How Long Until It’s Ready? And How to Harvest
Hot composting: 3–6 months. Cold: 6–12+ months. Finished compost is dark, crumbly, earthy-smelling, with no recognizable scraps.
Sift out larger pieces and return them to the active pile. Let it cure for a few weeks before using.
Store finished compost in a bin or covered pile until garden season.
Using Your Compost: Watch Your Garden Thrive
Mix into garden beds, use as mulch, or make compost tea for a nutrient boost. Top-dress houseplants or lawns. It’s gentle enough for seedlings.
You’ll notice improved soil structure — clay loosens, sand holds moisture better. Plants become more resilient.
Real talk: My first batch wasn’t perfect, but even imperfect compost beats buying bags of soil. The garden responded anyway.
Beyond the Basics: Level Up Your Composting
- Try vermicomposting for indoor fun.
- Build a three-bin system for continuous production.
- Experiment with activators like coffee grounds or manure (sparingly).
- Track your impact — many people divert hundreds of pounds of waste yearly.
Join local gardening groups or online communities for tips tailored to your climate.
FAQs About How to Start Composting for Beginners
How much does it cost to start composting? Almost nothing. Use free pallets, leaves, and kitchen scraps. A basic bin might run $20–100 if you buy one, but DIY works great.
Will composting attract rats or pests? Not if you manage it well. Bury food scraps deeply under browns, avoid meat/dairy, and use enclosed bins. Proper turning helps too.
Can I compost in an apartment? Yes! Worm bins or Bokashi systems are compact and odor-controlled. Some use balcony tumblers or community gardens.
How long does composting take for beginners? Expect 3–12 months depending on method and effort. Hot composting with regular turning is faster.
Is it okay to add coffee grounds? Absolutely. They’re great “greens” and worms love them. Just balance with browns.
What if my compost is too wet? Add dry leaves, shredded paper, or wood chips and turn frequently to aerate.
Can I compost weeds? Avoid seeding weeds unless your pile gets hot enough to kill seeds. Better to hot compost or dispose of them separately.
Your Composting Journey Starts Now
You’ve got this. Starting composting might feel like a small step, but it connects you to the natural cycle in a powerful way. That first handful of homemade compost? It’s pure magic — and it came from your efforts.
Grab a pail, collect some scraps, and build that first layer today. Your garden (and the planet) will thank you. Share your progress in the comments or with friends — composting is more fun when we learn together.
Ready to get your hands dirty? Go outside, start small, and watch the magic happen. Happy composting!