
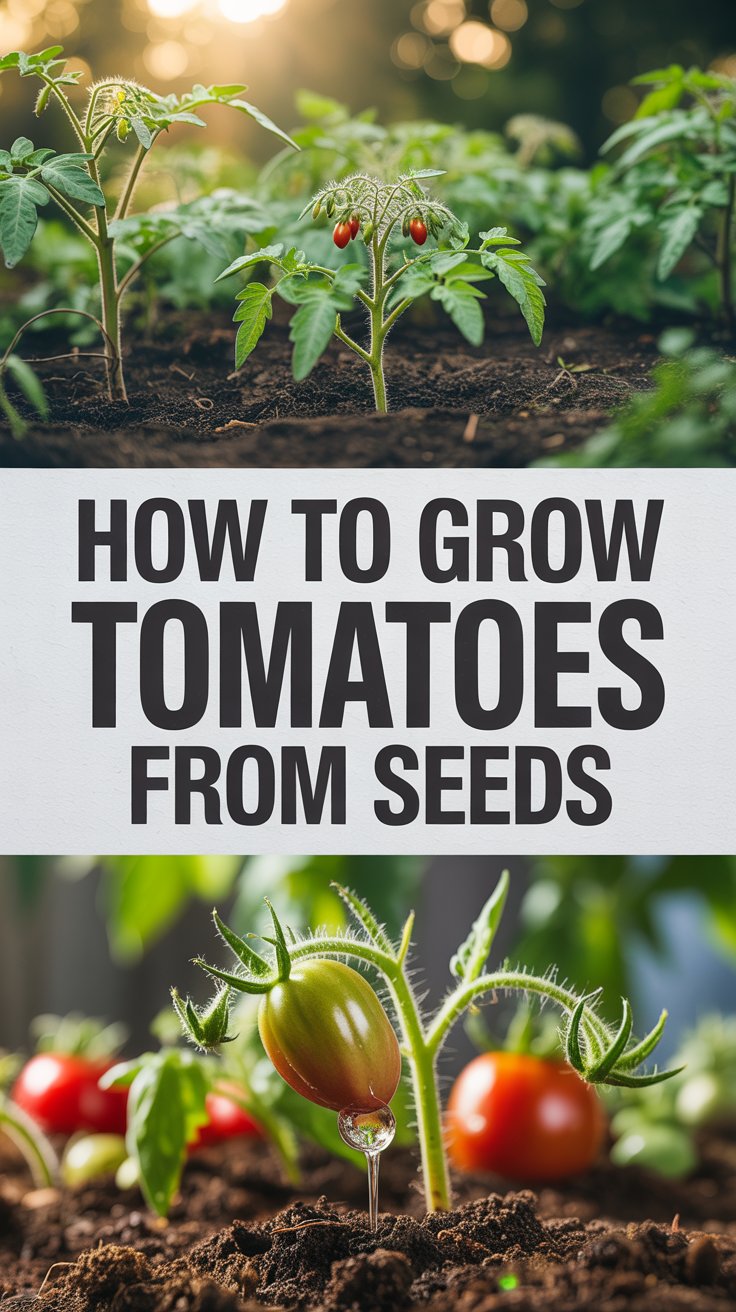
There’s nothing more frustrating than buying a tomato plant from a nursery, nursing it all season, and ending up with just a handful of fruit — especially when you could have grown ten plants from a single seed packet for the same price.
If you’ve ever wanted to grow tomatoes from seeds but felt intimidated by the process, you’re in the right place.
The truth is — starting tomatoes from seed isn’t complicated. It just takes the right timing, a little patience, and knowing what not to do. By the end of this guide, you’ll have everything you need to grow healthy, productive tomato plants from scratch.
Quick Answer: How to Grow Tomatoes from Seeds
Here’s the short version for those in a hurry:
- Start seeds indoors 6–8 weeks before your last frost date
- Plant seeds ¼ inch deep in seed-starting mix
- Keep soil warm (70–80°F) for germination
- Provide 14–16 hours of light per day once sprouted
- Transplant outdoors after hardening off for 7–10 days
Now let’s dig into the details.
Why Grow Tomatoes from Seeds (Instead of Buying Transplants)?
Most gardeners start with store-bought seedlings — and there’s nothing wrong with that. But growing tomatoes from seeds opens up a whole different world.
Here’s why it’s worth it:
- You get access to hundreds of heirloom and specialty varieties that nurseries never stock
- It’s significantly cheaper — a packet of 20+ seeds often costs less than one transplant
- You control the growing conditions from day one, meaning stronger, healthier plants
- It’s deeply satisfying in a way that buying a plant just isn’t
Once you’ve grown your first batch from seed, you’ll never look at a nursery shelf the same way again.
What You Need Before You Start
Before we get into the steps, let’s make sure you have the right supplies. You don’t need anything fancy.
Essential supplies:
- Tomato seeds (any variety you love)
- Seed-starting mix (not regular potting soil — important!)
- Seed trays or small pots (2–3 inch cells work great)
- A spray bottle for watering
- A warm location or heat mat
- Grow lights or a very sunny south-facing window
Optional but helpful:
- A humidity dome to retain moisture during germination
- A fan for air circulation once seedlings emerge
- Liquid fertilizer for the seedling stage
Don’t overthink the setup. Many gardeners grow excellent seedlings with nothing more than a windowsill and a recycled yogurt container.
Step-by-Step: How to Grow Tomatoes from Seeds
Step 1: Time It Right
Timing is everything with tomatoes. Start your seeds 6 to 8 weeks before your last expected frost date.
Start too early and your seedlings get leggy and root-bound indoors. Start too late and you lose precious growing time.
Not sure of your last frost date? A quick search for “[your city] last frost date” will give you a reliable estimate.
Step 2: Choose Your Growing Container
You can use dedicated seed trays, repurposed egg cartons, small yogurt cups, or biodegradable peat pots.
Whatever you use, make sure it has drainage holes at the bottom. Soggy roots are the fastest way to kill a seedling.
Fill your containers with seed-starting mix — not garden soil or regular potting mix. Seed-starting mix is lightweight, sterile, and drains well, giving those tiny roots the best possible start.
Step 3: Plant the Seeds
Moisten your seed-starting mix before filling the containers. It should feel like a wrung-out sponge — damp but not dripping.
Plant 1–2 seeds per cell, about ¼ inch deep.
Press them gently into the soil and cover lightly. No need to pack it down hard.
Mist the surface with your spray bottle so the top layer stays evenly moist.
Step 4: Create the Right Conditions for Germination
This is where most beginners struggle — and it’s almost always a temperature issue.
Tomato seeds need warmth to germinate, not light. The ideal soil temperature is 70–80°F (21–27°C).
A seed-starting heat mat placed under your trays makes a noticeable difference. Without one, the top of your refrigerator or near a heat vent can work in a pinch.
If you have a humidity dome, place it over the trays to lock in moisture. Check daily and mist if the surface looks dry.
Germination usually takes 5–10 days. Some varieties are faster, some slower. Don’t panic if you’re on day 7 and nothing’s happened yet.
Step 5: Introduce Light Immediately After Sprouting
The moment you see those tiny green loops pushing up through the soil, the seedlings need light — and lots of it.
Move them to your brightest window (south-facing is ideal) or directly under grow lights.
Grow lights should sit 2–3 inches above the seedlings and run for 14–16 hours per day. Use a timer to make this effortless.
Without enough light, seedlings stretch toward the nearest source and become tall, spindly, and weak. This is called “leggy” growth, and it’s one of the most common beginner mistakes.
Step 6: Water Carefully
Overwatering kills more seedlings than underwatering.
Always water from the bottom when possible — set your trays in a shallow dish of water and let the soil absorb moisture upward. This encourages roots to grow downward and prevents damping off (a fungal disease that collapses seedlings at the soil line).
Let the top of the soil dry out slightly between waterings.
Step 7: Thin Your Seedlings
If two seeds germinated in the same cell, choose the stronger-looking one and snip the weaker one at soil level with scissors.
Don’t pull it out — that can disturb the roots of the seedling you’re keeping.
It feels harsh, but giving each plant its own space is one of the best things you can do for a strong start.
Step 8: Feed Your Seedlings
About 2–3 weeks after germination, start feeding with a diluted liquid fertilizer once a week.
Look for one labeled for seedlings or vegetables. A half-strength dose is plenty at this stage — young plants are sensitive to over-fertilization.
Once you see the first set of true leaves (the second set of leaves that appear), they’re ready for regular feeding.
Step 9: Pot Up as Needed
If your seedlings start to look crowded or roots are peeking out of the drainage holes, it’s time to move them into a slightly larger pot.
This is called “potting up,” and it gives roots more room to develop before transplanting outdoors.
A 4-inch pot is ideal for this intermediate stage.
Step 10: Harden Off Before Transplanting
This is the step most beginners skip — and then wonder why their plants wilted or struggled after going outside.
Hardening off is the process of slowly introducing your indoor-grown seedlings to outdoor conditions over 7–10 days.
Start by placing them outside in a sheltered, shady spot for just 1–2 hours on day one. Gradually increase their time outdoors and exposure to sun over the following days.
By the end of the week, they should be comfortable spending full days outside and ready for their permanent garden bed.
Step 11: Transplant to the Garden
Once all frost risk has passed and your plants have been hardened off, it’s time to plant them in their final home.
Tomatoes love being planted deep. Bury them up to the lowest set of leaves — roots will form all along the buried stem, creating a stronger, more stable plant.
Space plants 18–36 inches apart depending on variety. Give them full sun (at least 6–8 hours daily) and rich, well-draining soil.
Common Beginner Mistakes (and How to Avoid Them)
Even experienced gardeners make these. Here’s what to watch out for:
- Starting too early — Oversized seedlings stuck indoors get root-bound fast
- Using garden soil — It’s too heavy and can harbor disease; always use seed-starting mix
- Not enough light — Leggy seedlings are almost always a light problem
- Overwatering — The number one seedling killer; let the soil breathe
- Skipping hardening off — Plants go into shock when moved from indoors to full sun too quickly
- Planting during a cold snap — Tomatoes stall in cold soil; wait until nights stay above 50°F
Troubleshooting: When Things Don’t Go as Planned
Seeds not germinating after 10+ days? Check your soil temperature. If it’s below 65°F, germination will be very slow or won’t happen at all. Add a heat mat or move the tray somewhere warmer.
Seedlings falling over at the base? This is damping off — a fungal problem caused by too much moisture and poor airflow. Improve circulation with a small fan and let the soil dry slightly between waterings.
Leaves turning yellow? Could be overwatering, or it might be time to start feeding. Check the soil moisture first, then consider a diluted fertilizer application.
Seedlings stretching tall and thin? Not enough light. Move them closer to your grow light or to a brighter window immediately.
FAQ: Growing Tomatoes from Seeds
How long does it take to grow tomatoes from seed to harvest?
From seed to first harvest typically takes 60–85 days depending on the variety. Early-season varieties like ‘Stupice’ or ‘Sub-Arctic Plenty’ are faster; beefsteak types take longer. Add 6–8 weeks of indoor growing time before transplanting.
Can I use seeds from a store-bought tomato?
Yes — with some caveats. Seeds from heirloom tomatoes will grow true to type. Seeds from hybrid varieties (most supermarket tomatoes) may not produce the same fruit. Ferment and dry the seeds first before planting.
Do tomato seeds need light to germinate?
No. Tomato seeds don’t need light to germinate — they need warmth. Only once they sprout do they need light, and they need it immediately.
How deep should I plant tomato seeds?
Plant tomato seeds ¼ inch deep (about 6mm). Any deeper and they struggle to push through. Any shallower and they may dry out before rooting.
What’s the best tomato variety to grow from seed for beginners?
Cherry tomatoes are the most forgiving for beginners. Varieties like ‘Sweet Million,’ ‘Sun Gold,’ or ‘Black Cherry’ are productive, disease-resistant, and rewarding. ‘Roma’ is a great choice if you want to make sauce.
How many tomato seeds should I plant per cell?
Plant 1–2 seeds per cell. If both germinate, snip the weaker one. Don’t plant more than 2 — it wastes seeds and makes thinning harder.
Can I grow tomatoes from seeds indoors all year?
Technically yes — with the right lighting and temperature. But tomatoes are heavy feeders and light-hungry plants. Growing them indoors to full fruiting requires serious grow light investment. Most home gardeners stick to the seasonal cycle.
Final Thoughts
Growing tomatoes from seeds is one of those gardening experiences that just sticks with you.
There’s something genuinely magical about watching a tiny seed — smaller than a pencil tip — become a sprawling plant loaded with bright, sun-warmed fruit. And knowing you started the whole thing from scratch? That feeling never gets old.
Yes, it takes a little planning. Yes, you might lose a few seedlings along the way. But with the steps laid out in this guide, you have everything you need to grow healthy, thriving tomato plants from seed — no greenhouse required.
Start small, stay consistent, and don’t stress the imperfections. Your first seed-grown tomato, eaten warm off the vine, will make every step worth it.
Now go find your favorite variety, grab a seed packet, and get growing. 🌱