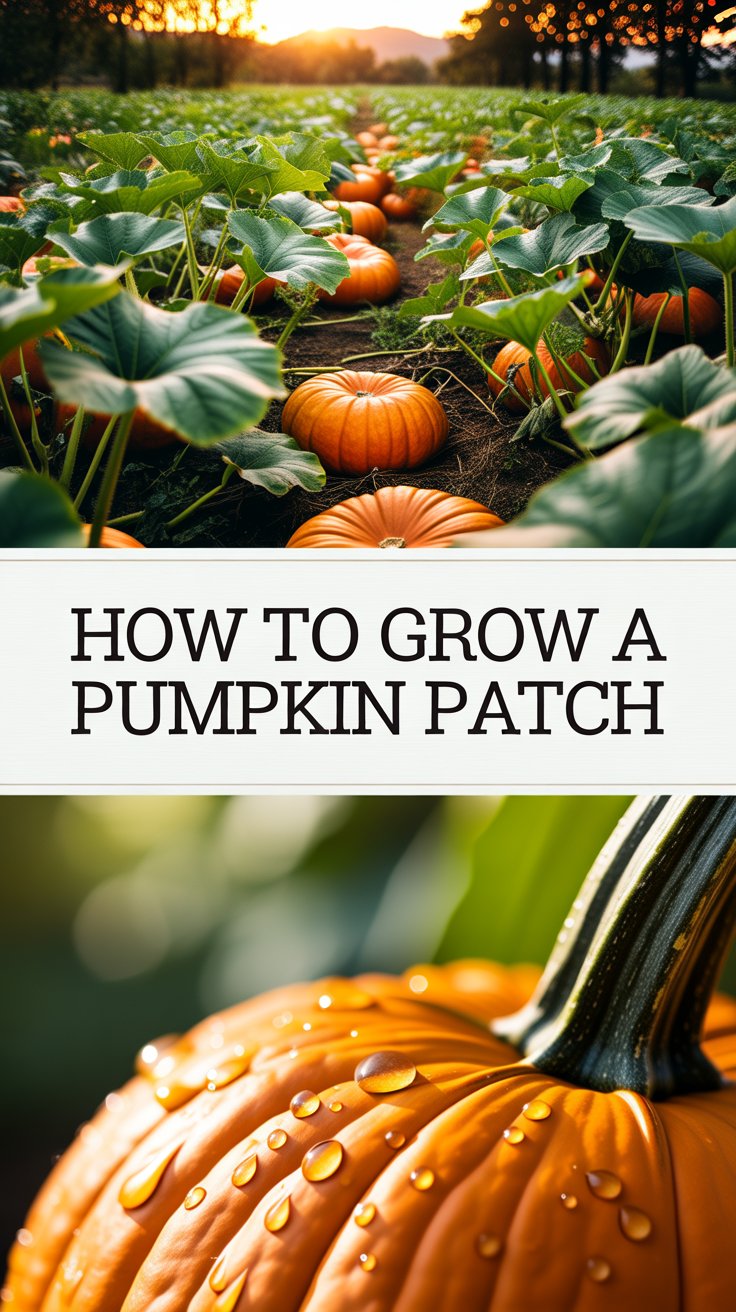
There’s something almost magical about watching a tiny seed turn into a giant, glowing pumpkin sitting proudly in your garden.
But if you’ve ever tried to grow one and ended up with a sad, yellowing vine and nothing to show for it — trust me, you’re not alone.
Growing pumpkins looks simple. And honestly? It is — once you know what they actually need.
This guide will walk you through exactly how to grow a pumpkin from seed to harvest, even if your gardening experience starts and ends with a houseplant you forgot to water.
Quick Answer: How to Grow a Pumpkin
If you’re in a hurry, here’s the short version:
- Plant seeds after the last frost when soil is at least 60°F (15°C)
- Choose a sunny spot with 6–8 hours of direct sunlight daily
- Give them space — pumpkins sprawl and need room to roam
- Water deeply but infrequently (1–2 inches per week)
- Fertilize regularly and watch for pests
- Harvest when the skin is hard and the stem is dry
Now let’s go deeper.
Why Growing Pumpkins Is Worth Every Bit of Effort
Before we get into the how, let’s talk about the why.
Pumpkins are one of the most rewarding vegetables you can grow. They’re dramatic, they’re satisfying, and when Halloween rolls around — or when you’re ready to make pumpkin soup — you’ll feel incredibly proud.
They’re also surprisingly forgiving once they get going. The vines are vigorous, the plants are tough, and with a little attention early on, they basically take care of themselves.
Choosing the Right Pumpkin Variety
Not all pumpkins are created equal, and the variety you choose makes a huge difference.
For carving jack-o’-lanterns:
- Connecticut Field
- Howden
- Magic Lantern
For cooking and eating:
- Sugar Pie (small and sweet — perfect for pies)
- Jarrahdale (blue-grey skin, incredible flavor)
- Long Island Cheese (heirloom variety, stunning in the garden)
For bragging rights (giant pumpkins):
- Atlantic Giant
- Big Max
If you’re a first-timer, I’d suggest starting with Sugar Pie or a standard carving variety. They’re manageable in size and very forgiving.
When to Plant Pumpkins
Timing is everything with pumpkins.
Plant too early and a late frost will kill your seedlings overnight. Plant too late and your pumpkins won’t have enough time to mature before autumn.
The golden rule: Plant pumpkins 2–3 weeks after your last frost date.
In most regions, that means:
- Northern climates: Late May to early June
- Southern climates: March to April
- Tropical/subtropical areas: Year-round, but avoid peak summer heat
Pumpkins need 75–100 days to mature depending on the variety. Count backwards from when you want to harvest to figure out your planting window.
How to Grow a Pumpkin: Step-by-Step
Step 1: Choose Your Location Wisely
Pumpkins are sun lovers. They need at least 6–8 hours of direct sunlight every day.
They also need space. Vines can spread 10–15 feet in every direction. If your garden is small, look for “bush” varieties that stay more compact.
Avoid low-lying areas where water pools — pumpkins hate sitting in soggy soil.
Step 2: Prepare Your Soil
This step is more important than most beginners realize.
Pumpkins are heavy feeders. They want rich, loose, well-draining soil with a pH between 6.0 and 6.8.
Before planting:
- Dig in a generous amount of compost or aged manure
- Work the soil to about 12 inches deep
- Add a slow-release vegetable fertilizer if your soil is poor
Well-prepared soil at the start will save you a lot of headaches later.
Step 3: Plant Your Seeds
You can start seeds indoors 2–3 weeks before your planting date, or direct sow them into the garden.
Direct sowing (recommended for beginners — pumpkins don’t love transplanting):
- Create small mounds of soil about 1 foot high and 2 feet wide
- Plant 2–3 seeds per mound, about 1 inch deep
- Space mounds 4–6 feet apart (more for large varieties)
- Water gently but thoroughly
Seeds typically germinate in 7–10 days when the soil is warm.
Once seedlings have 2–3 true leaves, thin to the strongest 1–2 plants per mound. Yes, it hurts to pull them out. Do it anyway — crowding is the enemy.
Step 4: Water the Right Way
Here’s where a lot of beginners go wrong.
Pumpkins need consistent moisture, but they hate being waterlogged. Overwatering is one of the top causes of wilting, yellowing leaves, and root rot.
The right approach:
- Water deeply once or twice a week
- Aim for 1–2 inches of water per week total
- Water at the base of the plant, not the leaves (wet leaves invite disease)
- Use mulch around the base to retain moisture and suppress weeds
During hot spells, you may need to water more frequently. Check the soil 2–3 inches down — if it’s dry, it’s time to water.
Step 5: Fertilize Throughout the Season
Pumpkins are hungry plants. Regular feeding pays off in big, healthy fruit.
Fertilizing timeline:
- At planting: Work compost and a balanced fertilizer (10-10-10) into the soil
- When vines start running: Switch to a nitrogen-heavy fertilizer to encourage leafy growth
- When flowers appear: Switch to a phosphorus/potassium-heavy fertilizer to support fruit development
Don’t skip the fertilizing. It genuinely makes a noticeable difference.
Step 6: Manage the Vines
Once your pumpkin vines get going, they’ll take off fast.
You can let them sprawl freely, but gently guiding them keeps things tidy and helps you spot problems early.
A few tips:
- Bury sections of vine in soil to encourage additional root growth (this strengthens the plant)
- Remove any fruit growing in awkward spots that might rot against the ground
- Pinch off the growing tips late in the season to redirect energy into the existing fruit
Step 7: Hand-Pollinate if Needed
Pumpkins produce separate male and female flowers. The female has a tiny pumpkin at its base; the male doesn’t.
Bees do most of the pollination work. But if your garden is short on pollinators, you might notice flowers dropping without setting fruit.
To hand-pollinate:
- Pick a male flower in the morning when it’s fully open
- Peel back the petals
- Gently rub the pollen-covered center against the center of a female flower
It sounds fiddly, but it takes about 30 seconds and can save your harvest.
Step 8: Protect Your Developing Pumpkins
Once a pumpkin starts forming, give it a little help.
- Place a piece of cardboard or a wooden board under each pumpkin to keep it off damp soil
- This prevents rot and discourages slugs and insects from taking up residence underneath
If you’re growing a show pumpkin and want a smooth, unblemished skin, you can also protect it from sun scald by covering it lightly with a cloth during peak afternoon sun.
Common Mistakes When Growing Pumpkins
Even experienced gardeners make these. Keep an eye out:
1. Planting too close together Crowded plants compete for nutrients, create poor airflow, and invite disease. Give them the space they need.
2. Inconsistent watering Irregular watering leads to cracked fruit and blossom drop. Get into a routine.
3. Ignoring pests early on Squash bugs and cucumber beetles can destroy a young plant fast. Check leaves daily and act at the first sign of trouble.
4. Planting in shade Even partial shade significantly reduces yield. Pumpkins want sun — lots of it.
5. Harvesting too early Patience is key. A pumpkin that isn’t fully mature won’t store well and won’t taste as good.
Pest and Disease Troubleshooting
Yellowing Leaves
Usually a sign of nitrogen deficiency or overwatering. Check your watering habits first, then consider a nitrogen-rich fertilizer.
Powdery Mildew (White Coating on Leaves)
Very common late in the season. Improve airflow around plants. You can also spray with a diluted neem oil solution.
Wilting in the Morning
If your plant wilts even after watering, check the stems near the base for squash vine borer damage — tiny holes and sawdust-like frass are the giveaway.
Flowers But No Fruit
Either pollination isn’t happening, or temperatures are too high (above 95°F/35°C). Try hand-pollinating in the early morning.
How to Know When Your Pumpkin Is Ready to Harvest
This is the moment you’ve been waiting for.
Signs of a ripe pumpkin:
- The skin is hard and resists scratching with your fingernail
- The color has fully developed (orange, white, grey — depending on variety)
- The stem has dried out and turned corky
- The vine near the pumpkin has started to die back
To harvest, use a sharp knife or pruning shears and cut the stem leaving 3–4 inches attached to the pumpkin. Don’t carry it by the stem — it can snap off.
After harvesting, cure your pumpkin in a warm, sunny spot for 10–14 days. This hardens the skin and dramatically improves shelf life. A properly cured pumpkin can last 2–3 months in storage.
FAQ: How to Grow a Pumpkin
How long does it take to grow a pumpkin?
Most pumpkin varieties take 75–100 days from planting to harvest. Giant varieties can take up to 120 days. Always check the seed packet for your specific variety’s maturity time.
Can I grow pumpkins in a small garden?
Yes! Look for compact or bush varieties like ‘Baby Bear’, ‘Jack Be Little’, or ‘Spookie’. You can also grow smaller pumpkins vertically on a sturdy trellis, though you’ll need to support the fruit with a sling made from old pantyhose or fabric.
How many pumpkins does one plant produce?
It depends on the variety. Small decorative varieties can produce 10–12 pumpkins per plant. Standard carving pumpkins typically yield 2–5 per plant. Giant pumpkins are usually limited to 1–2 to allow maximum energy per fruit.
Do pumpkins need full sun?
Absolutely. Pumpkins need 6–8 hours of direct sunlight daily to thrive. Less than that and you’ll get plenty of vine growth but little to no fruit.
What’s the best fertilizer for pumpkins?
Start with a balanced fertilizer (like 10-10-10) at planting. Switch to a higher-nitrogen formula when vines start growing, then move to a fertilizer higher in phosphorus and potassium when flowers appear. Compost is always a great addition at any stage.
Can I grow pumpkins in containers?
Technically yes, but it’s challenging. You’d need a very large container (at least 20–25 gallons) and a compact variety. Regular containers simply don’t give the root system enough room. If you want to try it, ‘Baby Pam’ or ‘Small Sugar’ are your best bets.
Why are my pumpkin flowers falling off without producing fruit?
The first several flowers on a pumpkin plant are usually male flowers — they’ll fall off naturally. Female flowers appear a week or two later. If female flowers are dropping too, check for poor pollinator activity, extreme heat, or water stress.
Final Thoughts: Your Best Pumpkin Season Starts Now
Growing your own pumpkins is one of those garden experiences you don’t forget.
There’s real joy in watching those vines unfurl week by week, in spotting that first tiny pumpkin forming, and in eventually carrying your harvest inside with dirt on your hands and a big smile on your face.
It’s not complicated. It just takes a little preparation, consistent care, and the willingness to get your hands dirty.
Whether you’re planting one vine or a whole patch, you now know exactly how to grow a pumpkin that you’ll be genuinely proud of.
So go on — get those seeds in the ground. Your autumn harvest is waiting.
Have questions about your pumpkin patch? Drop them in the comments — I’d love to hear how your garden grows.