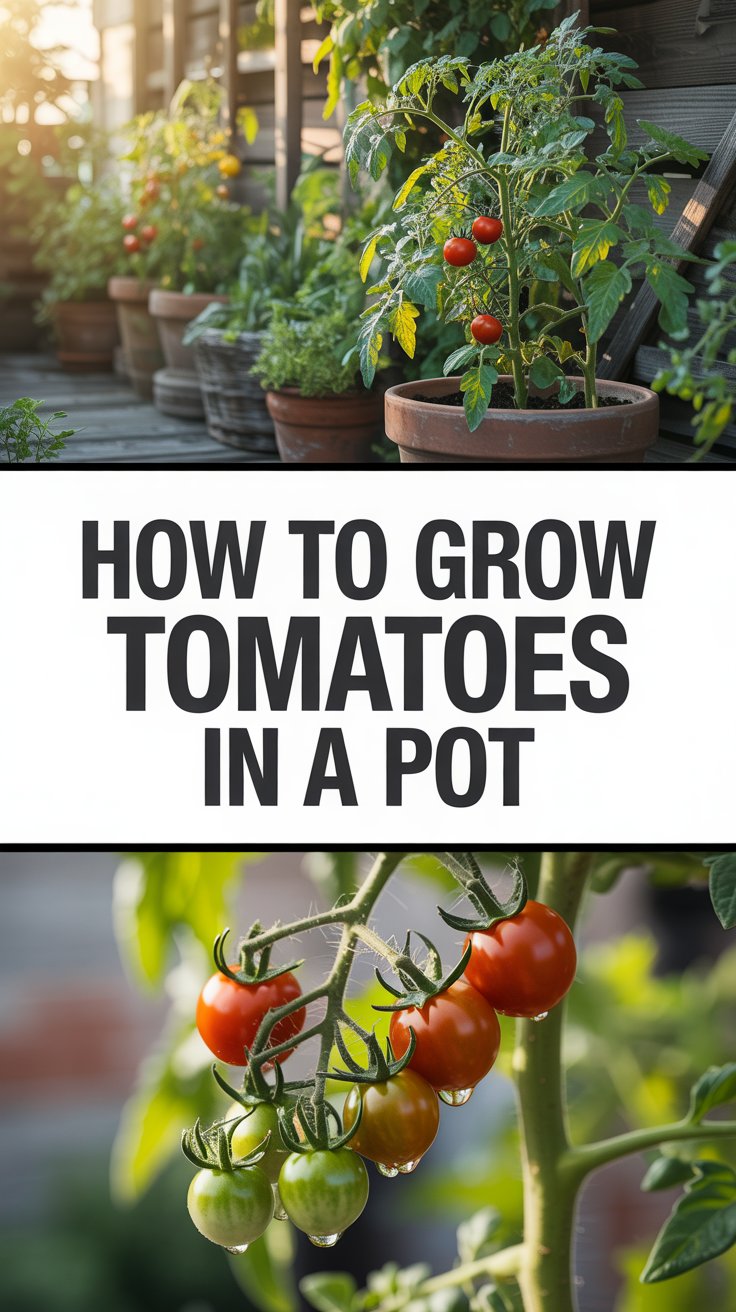
No backyard? No problem.
That’s the first thing I want you to hear — because so many people assume growing tomatoes is something you need a big garden for. You don’t.
Some of the best tomatoes I’ve ever tasted came off a plant sitting on a balcony in a five-gallon bucket.
If you’ve been wanting to try how to grow tomatoes in a pot but you’re not sure where to start, you’re in exactly the right place. This guide walks you through everything — from picking the right container to harvesting your first ripe tomato — in plain, simple language.
No jargon. No overwhelm. Just real, practical advice that works.
Quick Answer: How to Grow Tomatoes in a Pot
Short on time? Here’s the at-a-glance version:
- Container size: At least 5 gallons (10–15 gallons for larger varieties)
- Best varieties: Cherry, patio, or dwarf tomato types
- Soil: Premium potting mix — never garden soil
- Sunlight: 6–8 hours of direct sun daily
- Watering: Consistently moist, but never waterlogged
- Fertilizing: Every 1–2 weeks once flowering begins
- Days to harvest: 60–85 days depending on variety
Now let’s go deeper.
Why Growing Tomatoes in Containers Actually Works
There’s a common myth that container-grown tomatoes are somehow second-rate.
That’s just not true.
With the right setup, pot-grown tomatoes can be just as productive — and honestly, even easier to manage — than ones grown in the ground.
You control the soil quality completely. You can move the container to chase sunlight. And you skip a lot of the weed and pest problems that come with traditional garden beds.
Container growing also means you can start earlier in the season by bringing pots indoors during cold snaps. That extra growing time adds up.
Choosing the Right Container
This is where most beginners go wrong — and it’s an easy mistake to avoid.
Size Matters More Than You Think
Tomatoes have deep, aggressive root systems. A pot that’s too small will restrict growth, cause water stress, and ultimately limit your harvest.
Here’s a simple guide:
- Cherry and patio tomatoes: 5-gallon pot minimum (about 12 inches wide)
- Medium varieties (like Roma): 10-gallon pot
- Large varieties (like Beefsteak): 15–20 gallons
When in doubt, go bigger. A larger container holds more moisture, stays cooler in heat, and gives roots room to spread.
Best Materials for Tomato Pots
Almost any container works as long as it has drainage holes. That said, material does matter.
- Plastic pots – Lightweight, affordable, and retain moisture well. A solid choice for beginners.
- Fabric grow bags – Excellent drainage and air pruning of roots. Very popular with serious growers.
- Terra cotta – Beautiful and breathable, but dries out quickly. You’ll water more often.
- Wooden barrels – Insulate well and look great, but heavier to move.
Whatever you choose, drainage holes at the bottom are non-negotiable. Sitting in water is a death sentence for tomato roots.
Picking the Best Tomato Varieties for Containers
Not every tomato thrives in a pot. Choosing the right variety makes your life much easier.
Best Bets for Pot Growing
Cherry and grape tomatoes are the number one recommendation for containers. They’re compact, prolific, and forgiving.
Top picks:
- Tumbling Tom – Trails beautifully, great for hanging baskets
- Sweet Million – Incredibly productive, sweet flavor
- Sun Gold – Orange cherry tomatoes with an almost tropical sweetness
- Black Cherry – Deep, complex flavor that’s hard to find in stores
Patio and dwarf varieties are bred specifically for small spaces:
- Patio F1 – A classic compact variety, great for beginners
- Tiny Tim – Stays under 18 inches, perfect for balconies
- Bush Early Girl – Compact but produces full-sized fruits
What to avoid: Large indeterminate varieties like Beefsteak or most heirloom climbing types. They can be done in containers, but they demand much larger pots and serious staking. Not ideal for your first time.
How to Grow Tomatoes in a Pot: Step-by-Step
Let’s walk through the whole process from start to finish.
Step 1: Start With the Right Potting Mix
This is one of the most important decisions you’ll make.
Never use regular garden soil in containers. It compacts over time, drains poorly, and can introduce diseases.
Instead, use a high-quality potting mix — ideally one formulated for vegetables or tomatoes. Look for a mix that includes:
- Perlite or vermiculite (for drainage)
- Compost (for nutrients)
- Coco coir or peat moss (for moisture retention)
You can also mix your own: two parts potting mix, one part perlite, and a generous handful of compost works beautifully.
Fill your container to about 2 inches from the top, leaving room for watering.
Step 2: Plant Deep — Really Deep
Here’s a tip that surprises a lot of beginners: tomatoes should be planted much deeper than they sit in their nursery pot.
Bury the stem up to the lowest set of leaves. Those buried stem sections will grow into additional roots, creating a stronger, more drought-resilient plant.
If you have a tall, leggy seedling, you can even plant it on an angle, with most of the stem underground. It sounds extreme, but it works incredibly well.
Step 3: Position for Maximum Sunlight
Move your pot to the sunniest spot you have.
Tomatoes need at least 6 hours of direct sunlight per day — 8 hours is even better. Less than that and you’ll get a lot of leafy growth but not much fruit.
South-facing balconies, rooftops, and sunny patios are ideal.
If your space is partly shaded, choose a cherry tomato variety — they’re the most tolerant of lower light conditions.
Step 4: Set Up Support Early
Even compact varieties benefit from some support as they grow.
Install a tomato cage, small stake, or trellis at planting time, before the roots establish. Adding support later risks damaging the root system.
For hanging or trailing varieties like Tumbling Tom, no support is needed — let them cascade naturally.
Step 5: Water Consistently (This Is Critical)
Container tomatoes dry out much faster than in-ground ones. In hot weather, that can mean watering once — or even twice — a day.
The goal is consistently moist soil, never soggy.
Test by sticking your finger 1–2 inches into the soil. If it feels dry at that depth, water thoroughly until it drains from the bottom.
Inconsistent watering is the number one cause of problems like blossom end rot and cracked fruit. Consistent moisture is your best defense.
A self-watering container or drip tray can take a lot of the guesswork out of watering — worth considering if you travel or have a busy schedule.
Step 6: Feed Regularly
Potting mix nutrients get depleted quickly, especially with all that watering.
- First few weeks: A balanced fertilizer (10-10-10) to support root and leaf development
- Once flowering begins: Switch to a tomato-specific fertilizer higher in phosphorus and potassium to encourage fruit set
Feed every 1–2 weeks through the growing season. Organic options like fish emulsion or compost tea work well too.
Under-fed container tomatoes will look pale, grow slowly, and produce little fruit. Don’t skip this step.
Caring for Container Tomatoes Through the Season
Planting is just the beginning. Here’s what ongoing care looks like.
Pruning and Suckering
For indeterminate varieties, remove “suckers” — the small shoots that grow in the V-junction between the stem and branches.
Removing them keeps energy focused on fruit production rather than leafy growth.
For determinate (bush) varieties, minimal pruning is needed.
Dealing With Heat
Container soil heats up fast in summer sun, which stresses roots and dries plants out quickly.
A few tricks that help:
- Use light-colored pots that reflect heat
- Wrap dark containers in burlap or reflective material
- Mulch the soil surface with straw or coco coir to retain moisture
- Move pots to afternoon shade during extreme heat waves
Pollination
Most tomato varieties are self-pollinating, but they need some movement to release pollen.
Outdoors, wind and bees usually handle this naturally.
If you’re growing on an enclosed balcony with little wind, give your plants a gentle shake every few days when flowers are open, or lightly flick the flowering stems. This mimics natural pollination and dramatically improves fruit set.
Common Beginner Mistakes to Avoid
Learning from mistakes is fine — learning from other people’s mistakes is better.
Using too small a pot. The most common error. Upgrade your container before you think you need to.
Planting in garden soil. It compacts, drains poorly, and often brings pests and diseases with it.
Inconsistent watering. Leads to a chain reaction of problems. Set a schedule or use reminders.
Skipping fertilizer. Potting mix alone won’t feed your plant for an entire season. Feed regularly.
Not enough sun. A shady balcony will give you a beautiful green plant and almost no tomatoes. Sun is non-negotiable.
Planting too late in the season. Tomatoes need a long warm season. Plant as early as your climate allows (after frost risk).
Troubleshooting Common Container Tomato Problems
Yellow Leaves
Lower leaves yellowing is often normal as the plant matures. But widespread yellowing usually signals nitrogen deficiency — time to fertilize.
Blossom End Rot
That dark, sunken patch on the bottom of the fruit? It’s caused by calcium deficiency, usually triggered by inconsistent watering. Water more evenly and consider adding calcium to your fertilizer routine.
Flowers Dropping Without Fruit
Often caused by temperature extremes (too hot or too cold), poor pollination, or humidity issues. Gently shake plants during flowering and ensure temperatures are between 60–85°F (16–29°C).
Cracked Fruit
Happens when plants receive a big drink of water after a dry spell. Consistent, regular watering prevents this.
Leggy, Pale Growth
Almost always a sunlight or fertilizer issue. Move to a sunnier spot and feed more regularly.
When and How to Harvest Your Pot-Grown Tomatoes
Here’s the moment you’ve been waiting for.
Most tomatoes are ready when they’re fully colored (red, yellow, orange — depending on variety) and give slightly when gently squeezed.
Don’t wait for them to fall off the vine. Pick them when they’re just ripe — or even a day early. They’ll continue ripening indoors at room temperature.
Harvest regularly to keep the plant producing. A tomato left too long signals the plant to slow down. Pick often and it’ll keep going.
Frequently Asked Questions
What size pot do I need to grow tomatoes?
For cherry and patio tomatoes, use at least a 5-gallon pot (roughly 12 inches wide and deep). For medium varieties, go with 10 gallons. Larger beefsteak types need 15–20 gallons. Bigger is always better — more soil means more moisture and nutrients.
Can tomatoes grow in pots indoors?
Yes, but it’s challenging. Indoor tomatoes need a very bright south-facing window or supplemental grow lights providing 14–16 hours of light daily. You’ll also need to hand-pollinate the flowers. Cherry varieties like Tiny Tim are the best choice for indoor growing.
How often should I water potted tomatoes?
Check daily during warm weather. Water when the top 1–2 inches of soil feel dry. In summer heat, that may mean watering every day or even twice a day. Always water deeply until it drains from the bottom holes.
Do I need to fertilize container tomatoes?
Absolutely. Potting mix nutrients wash out with regular watering. Feed with a balanced fertilizer every 1–2 weeks. Once flowers appear, switch to a high-potassium tomato fertilizer to support fruit development.
Why are my container tomatoes not producing fruit?
The most common reasons are insufficient sunlight (less than 6 hours), temperature extremes, poor pollination, or irregular watering. Make sure your pot is in full sun, water consistently, and gently shake the plant when it’s flowering to help with pollination.
Can I grow tomatoes in a pot year-round?
In warm climates (USDA zones 10–12), yes — with some management. In most temperate climates, tomatoes are a warm-season crop that won’t survive frost. Some gardeners bring pots indoors in autumn to extend the season a few extra weeks.
Wrapping Up: Your Balcony, Patio, or Windowsill Can Feed You
Here’s the truth: how to grow tomatoes in a pot is one of the most satisfying gardening skills you can learn — and it’s far more achievable than most people realize.
You don’t need a garden. You don’t need a green thumb. You need a sunny spot, a decent-sized pot, and a little consistency.
The day you bite into your first homegrown tomato — warm from the sun, picked minutes ago — you’ll wonder why you waited so long to try this.
So go ahead. Grab a pot. Get some seeds or a seedling. Put it where the sun hits.
Your summer table is about to get a whole lot tastier. 🍅
If this guide helped you, share it with someone who’s been thinking about starting their own container garden. Let’s get more people growing their own food — one pot at a time.